
Caulking Before Repainting in Roswell: Touch Up or Start Over?
Learn when baseboard and door-casing caulk needs a small touch-up, when old material should come out, and what to clarify in a Roswell repaint estimate.
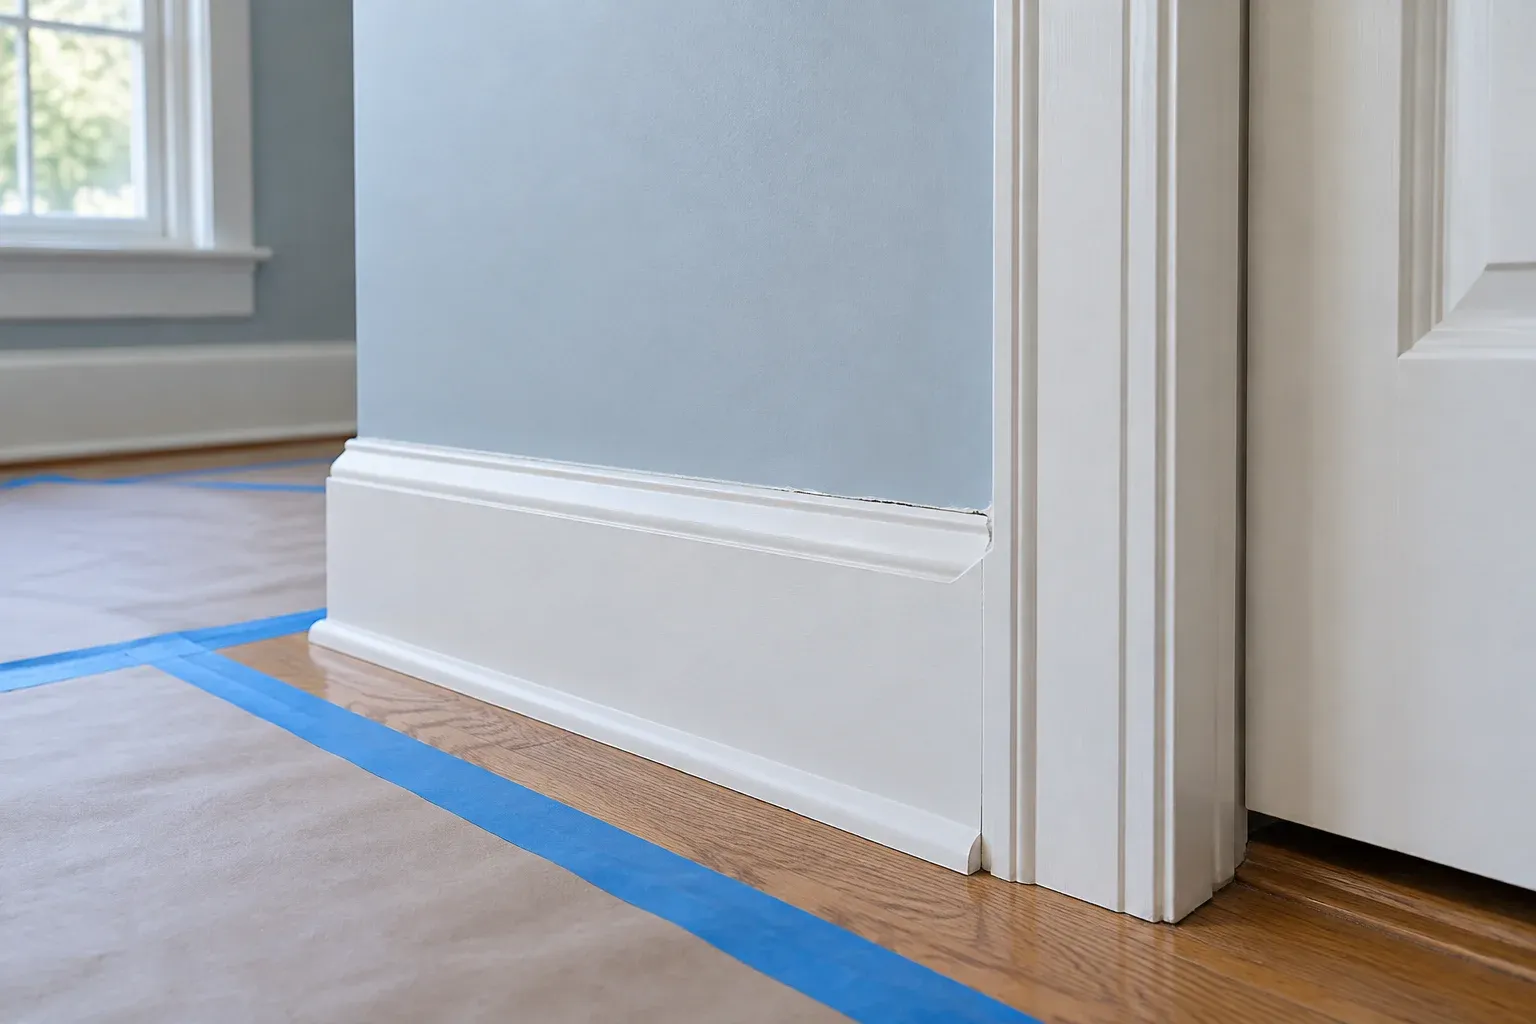
Start with the joint, not another bead
Caulking before an interior repaint in Roswell is not automatically an all-or-nothing job. One baseboard may have a sound bead with a short gap, while a nearby door casing has several rounded layers separating from the wall. For homeowners planning to stay in their homes, the useful question is not simply whether caulk is included. It is which joints need a small touch-up, which need old material removed, and which need repair before either approach will work.
This distinction matters because paint changes the color of a joint, not its shape. A thick ridge, loose edge or recurring crack can remain conspicuous after repainting. Defining the preparation first helps you compare estimates by the work involved rather than by a broad promise to caulk the trim.
Read the condition of existing caulk
Look along the top of each baseboard and the outside edges of door casings where trim meets the wall. A sound bead should form a modest, continuous transition without loose edges or obvious buildup. Small gaps are easier to evaluate in light falling across the wall than in flat overhead light. Inspect the whole run, including corners, rather than judging the room by one visible opening.
An isolated separation does not necessarily mean the entire bead has failed. Conversely, an apparently closed joint can still have caulk lifting away from one surface. Rounded ridges, multiple overlapping edges and cracks that continue along a substantial length suggest a different preparation scope. Tell the estimator whether the same opening has returned after earlier repainting. That history helps distinguish a local defect from a joint that needs closer investigation.
- Intact, narrow bead with a short gap: consider localized preparation and touch-up.
- Loose, cracked or heavily layered bead: evaluate removal and replacement.
- Moving trim, damaged material or a wide irregular opening: investigate repair first.
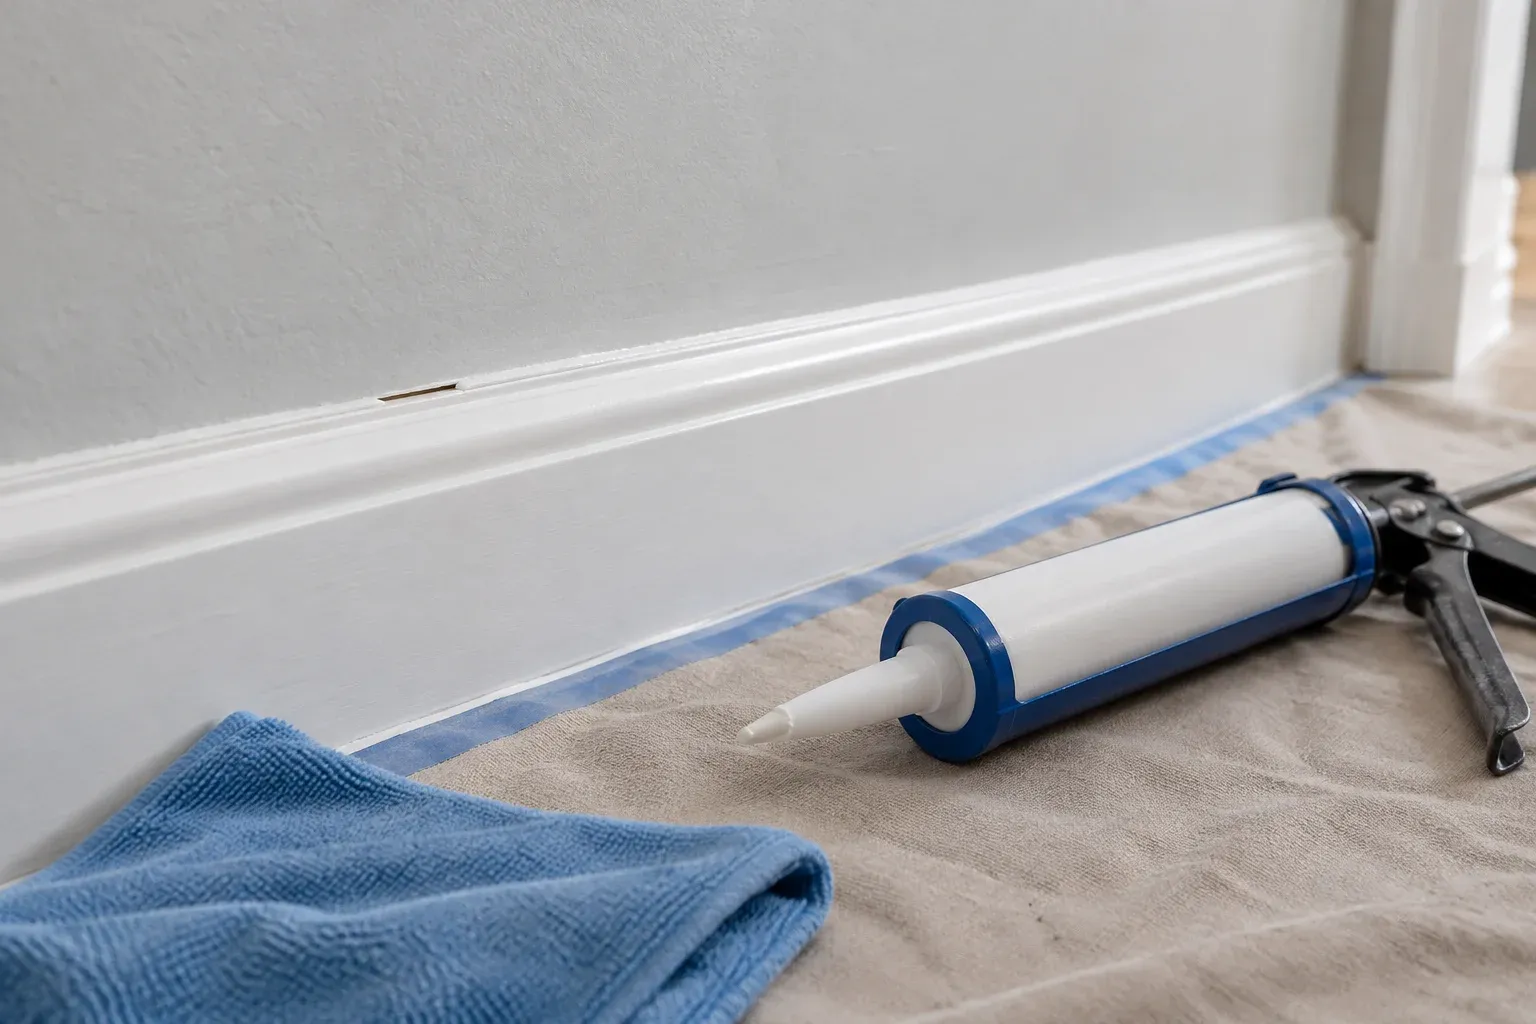
When a small touch-up is enough
A touch-up makes sense when the surrounding bead remains firmly attached, the trim is stable, and the defect is limited. Preparation still matters: the area needs to be clean, dry and free of loose material, with suitable surfaces for the selected product to bond to. The new material should blend into the existing joint without leaving a raised patch at either end. Simply smearing caulk over the visible line is not the same as preparing it.
For example, a short opening above a straight baseboard might need a localized correction while the rest of that wall remains untouched. A similar gap beside a door casing may also qualify if the casing is secure and the surrounding bead is sound. When discussing caulking services, ask how localized work will be blended and painted. A narrow repair can still stand out if the new bead is oversized or the finish is uneven.
When old caulk should come out
Removal becomes the stronger option when the old bead is separating, cracked through, or built up into a bulky edge. New caulk needs dependable contact with suitable surfaces. If it is applied over a loose layer, that layer remains a weak point beneath the repair. Covering repeated cracks also hides evidence without explaining why the joint keeps opening.
Several generations of caulk can soften the crisp outline of a baseboard or door casing. Another bead may spread farther onto the wall and trim, creating a rounded shelf that paint cannot flatten. Removal lets the joint be reassessed and rebuilt with a more restrained profile. The goal is not necessarily to strip every intact seam in the room; it is to remove failed or excessive material where it interferes with a sound, neat result.
Ask whether replacement covers one short section, a full casing edge or an entire baseboard run. Those are different amounts of preparation, even if each estimate uses the same phrase: recaulk trim.
When the trim needs repair instead
Caulk is not a substitute for securing loose trim or correcting damaged material. If a baseboard shifts, a casing pulls away, or an opening varies sharply along the joint, the fit and attachment need evaluation. Filling the visible space may improve its appearance briefly while leaving the cause unchanged. Repeated cracking is a reason to inspect, not proof that a larger bead is required.
Swollen trim, soft wood, crumbling wall edges or staining also deserve attention before the joint is closed. The appropriate response depends on the cause and extent of damage. Some areas may need trim repair or wall repair before caulking can produce a consistent finish. Keep that work separate in the estimate so you can see what restores the material and what finishes the seam.

Define what a paint-ready joint actually includes
For painted baseboards and door casings, product selection should match the surfaces, joint dimensions and expected movement. Confirm that the caulk is paintable and compatible with the planned coating. A product described as silicone is not automatically suitable for a painted trim joint; some silicone products are not paintable. Follow the selected product’s preparation and paint-ready instructions.
The intended result is a clean transition, not a broad band covering the trim profile. Application and tooling should leave the bead controlled and consistent, with excess material removed appropriately. Painting too soon can undermine the finish, so the preparation sequence needs room for the product’s specified timing. Also distinguish trim-to-wall seams from floor edges or joints designed to allow movement; not every visible gap should be sealed as part of interior house painting.
Make the preparation scope visible in the estimate
A useful estimate describes preparation room by room or by identifiable trim runs. Ask the estimator to distinguish sound joints left in place, isolated touch-ups, removal and replacement, and underlying repairs. That gives you a practical basis for comparing proposals. It also makes clear whether repainting includes the entire affected wall or trim section rather than only the newly caulked area.
For an occupied home, discuss access around furniture and floor protection alongside the preparation scope. The same joint-condition checks apply in owner-operated offices and retail spaces, where furnishings and operating hours can affect access. These logistics do not change whether a bead is sound, but they can change how the work is organized. If consulting Alpharetta Painters and Stainers (Paint and Stain), use these questions to define the requested work rather than assuming every preparation step is included.
- Which joints will receive touch-ups, and which will be stripped and replaced?
- Are loose trim, damaged wall edges and material repairs included or priced separately?
- What product will be used, and how will its paint-ready timing affect the sequence?
- How will additional problems discovered during removal be discussed before work proceeds?
Choose the preparation the joint actually needs
The right choice is not to replace every bead or preserve every bead. It is to retain sound joints, correct isolated defects, remove failed buildup and repair unstable material before finishing. That approach keeps the work tied to the condition of the room rather than a blanket treatment. For caulking before repainting in Roswell, a clearly defined preparation scope is the most useful starting point for a clean trim line and an estimate you can evaluate with confidence.
Frequently asked questions
Can new caulk go over old caulk before repainting?
Sometimes a localized touch-up can join a clean, firmly attached, compatible existing bead. Loose material should be removed first. Covering a thick, cracked or separating bead usually leaves an uneven edge and does not correct the underlying failure.
Does every baseboard joint need to be recaulked?
No. A smooth, intact joint may need cleaning and paint preparation rather than replacement. Isolated gaps can sometimes be touched up, while loose or heavily layered sections may need removal. The condition of each joint should determine the scope.
What should a caulking estimate identify?
It should identify the rooms and joints included, distinguish touch-ups from removal and replacement, describe surface preparation, and separate trim repairs from caulking. It should also explain product selection, paint-ready timing and how newly discovered damage will be handled.