
Exterior House Painting in Marietta: How to Test Colors Before Committing
Avoid exterior color regret with a practical sampling plan that checks siding, trim and accents against changing daylight and your home's fixed features.
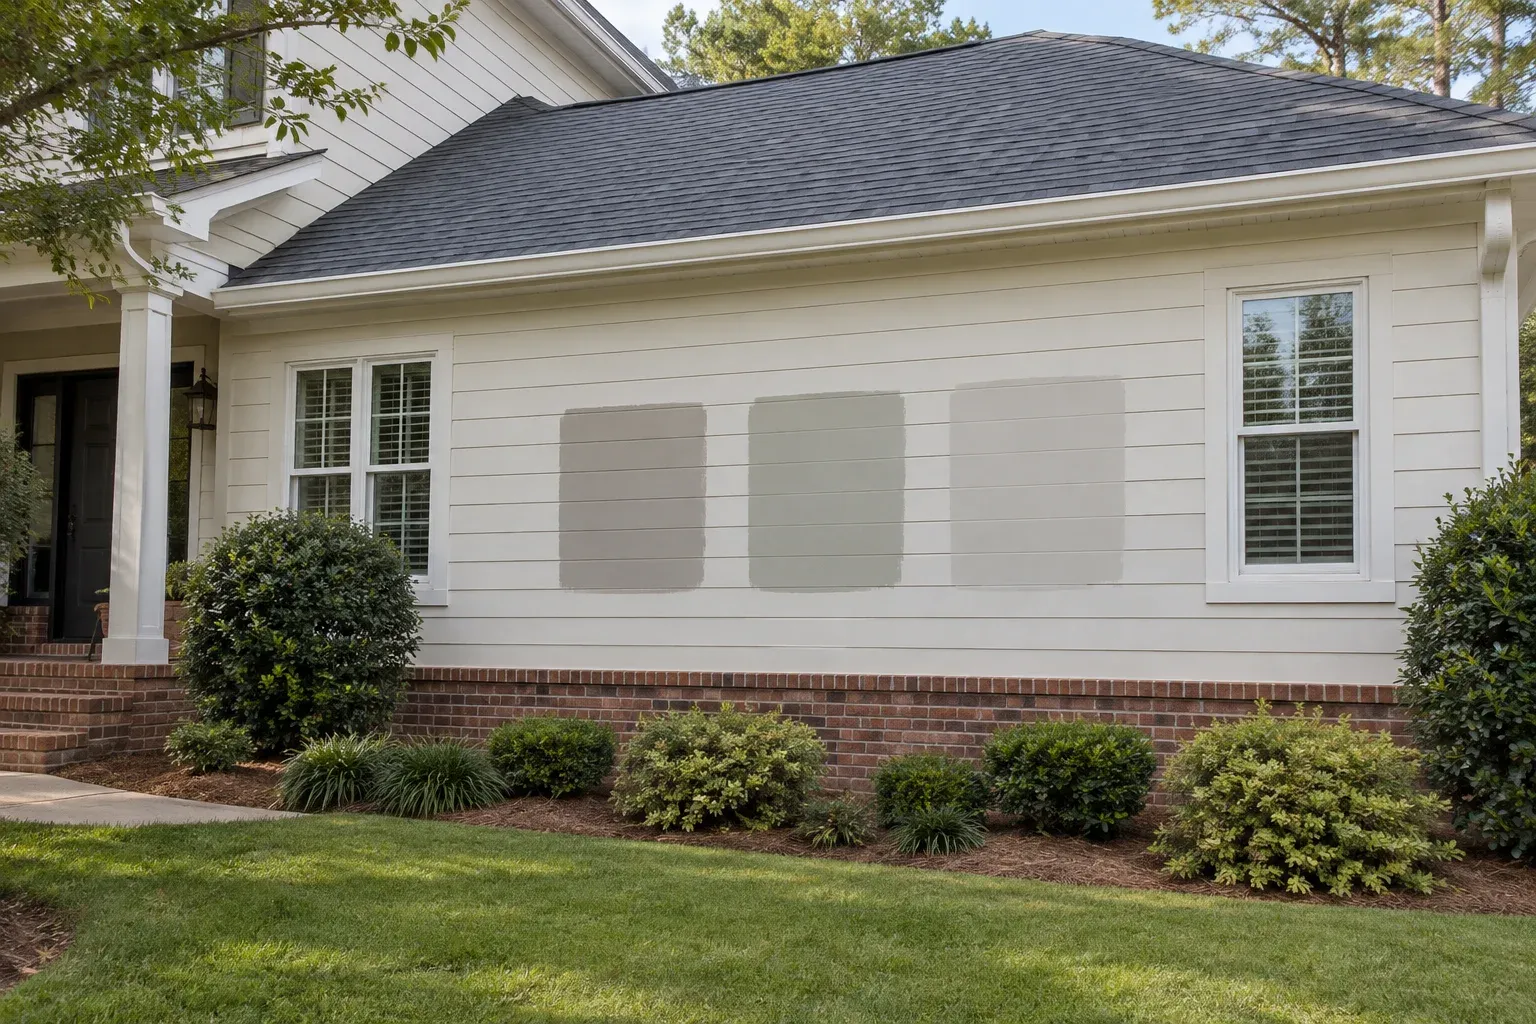
Start with a sampling plan, not a final color
Exterior house painting in Marietta is a decision you may live with for years, so a color deserves more consideration than a quick look at a paint chip. For long-term homeowners, the goal is a finish that works with the house every day—not just under store lighting. Testing a small group of candidates outdoors helps reveal differences before the full exterior makes those differences much more noticeable.
A useful sampling plan separates appearance decisions from preparation decisions. You are checking the main color, trim and accents while also identifying which surfaces need attention before painting. When planning exterior house painting with Alpharetta Painters and Stainers (Paint and Stain), use the approved samples as a clear reference for the project discussion. They help communicate your choices, but they do not establish the condition of the underlying siding.
Why small swatches can mislead
Small swatches leave out two important factors: scale and surroundings. A pale gray chip can appear distinctly blue when it covers a broad wall, while a cream that looks restrained indoors may feel yellow beside white windows. The existing wall color also influences your impression. Holding a tiny candidate against a strongly colored surface makes it harder to judge the candidate on its own.
Start with two or three serious options rather than covering the house with a dozen competing patches. Larger painted boards can help narrow the selection because you can move them beside brick, beneath the roofline or into porch shade. Leave room between candidates when comparing them. Boards are an early screening tool, however; a smooth board cannot fully predict the appearance of paint on textured siding.
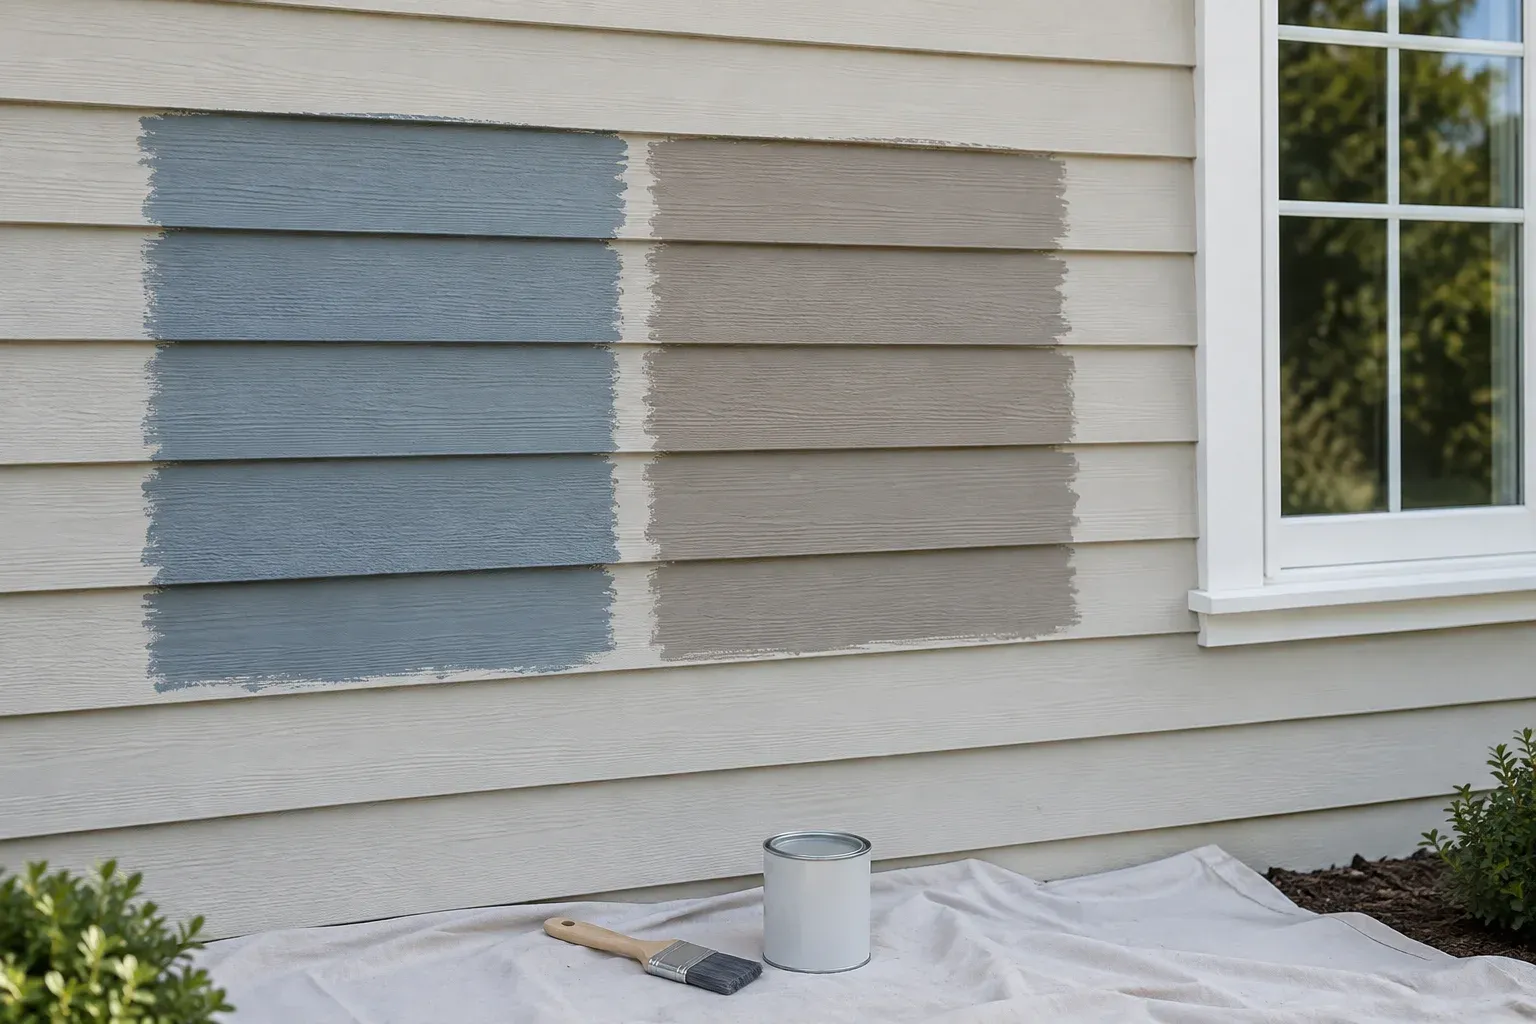
Test on representative siding and trim
For the finalists, choose accessible test areas on siding that represents the house. A patch spanning several siding courses gives you more information than a brush dab on one board. An area around two feet square is a reasonable starting point, not a universal requirement. Make it large enough to judge from the yard, and avoid placing every candidate on a hidden wall with unusual lighting.
The test surface should be clean, dry and sound, with any necessary primer selected for that substrate. Follow the coating instructions for application and drying, and use enough coats to achieve proper coverage. Thin or uneven samples can let the old color show through and distort the result. Agree on sample placement before application, since thick patch edges may need attention when the full wall is prepared and painted.
Read the samples in changing daylight
Judge each candidate in more than one lighting condition. Look in the morning, around midday and later in the afternoon, then check an overcast day if your planning schedule allows. A sunny wall and a recessed porch can make the same paint appear quite different. Tree shade and light reflected from nearby lawn or brick may also affect your impression, particularly with subtle neutral colors.
Move between close inspection and normal viewing distances. From nearby, you can assess coverage and texture; from the driveway or yard, you can judge the color as part of the whole house. Take photographs as reminders, but do not make the final decision from a phone screen. Camera processing and display settings can change color. Your direct outdoor observations should carry more weight than a digital image.
Account for sheen, texture and material limits
Color and sheen need separate approval. A sample container may not use the same formulation or sheen as the finish selected for the project. Ask what the sample represents, then confirm the finalist in the intended product and sheen where practical. More reflective finishes can emphasize surface irregularities and create highlights that change how a color reads. A color name alone does not describe the complete finish.
Existing texture matters too. Rough wood grain, smooth trim and previously painted siding reflect light differently, even when coated with the same color. Test trim on representative trim rather than assuming a siding patch tells the whole story. Product suitability comes before appearance: certain substrates, including some vinyl siding, restrict acceptable coatings or colors. Resolve those limitations before approving a darker option that may increase heat absorption.
Build the palette around fixed features
Treat roofing, brick, stone, window frames and other unchanged features as the boundaries of your palette. Place samples where you can see these materials together. Red-brown brick may make a cool gray feel cooler, while a warm roof can reveal an unexpected undertone in beige siding. You do not need an exact match. The aim is a relationship that looks intentional across the features you will retain.
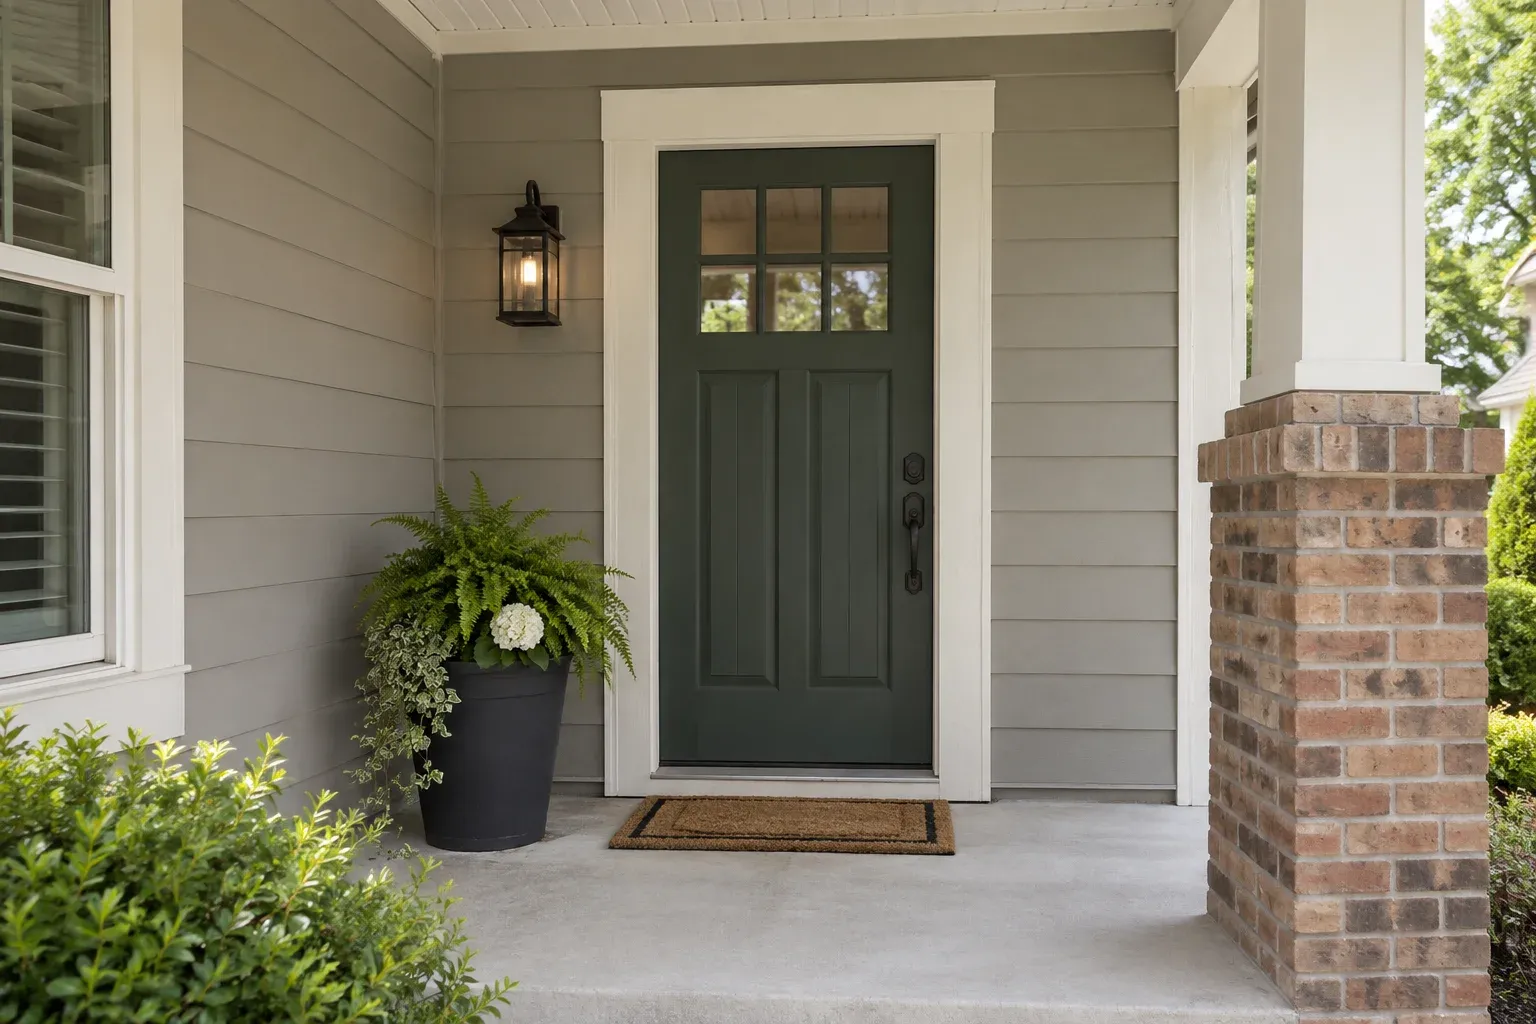
Once the main color is narrowed down, evaluate it with the proposed trim and accent rather than approving each independently. Check the trim beside both siding and window frames; two nearly matching whites can look mismatched when adjacent. View a front-door accent from the approach to the house, where its actual scale becomes clear. Also decide which details should recede, such as downspouts, instead of giving every exterior element contrasting emphasis.
Use a clear approval checklist before committing
Before approving the palette, record the manufacturer, color name or code, product and sheen for each surface. Identify where each choice belongs, including siding, fascia, soffits, door casing and doors where applicable. This avoids a vague instruction such as “use the white on all the trim.” Keep the final sample reference available, and resolve any household disagreements before the project moves beyond the testing stage.
Keep the preparation discussion separate and equally specific. A good-looking sample does not prove that peeling paint, open joints or deteriorated wood elsewhere are ready for coating. Discuss needed siding repair and other surface work before finalizing the painting scope. For exterior house painting in Marietta, approving a tested palette alongside a clear preparation plan gives long-term homeowners a firmer basis for a finish they will enjoy living with.
- Main color: approve a representative siding sample in sun and shade, viewed close up and from the yard.
- Trim: confirm its relationship to the siding, existing window frames and planned trim sheen.
- Accents: approve the door or other accent color at its intended scale and location.
- Materials: confirm that the selected coating and color are suitable for each substrate.
- Documentation: record exact color identifiers, products, sheens and the surfaces assigned to each.
- Preparation: resolve cleaning, repairs, failing coatings, caulking and priming independently of color approval.
Frequently asked questions
How large should an exterior paint sample be?
Make it large enough to read from the yard and span several siding courses. An area around two feet square can be a useful starting point, but the siding layout and viewing distance may justify a larger sample. Keep candidates separated so neighboring colors do not dominate the comparison.
Can I approve the color using only movable sample boards?
Boards are useful for narrowing choices and checking colors beside roofing, brick and trim. They cannot fully reproduce the texture, absorption or sheen of your siding. Before final approval, evaluate a suitable test area on representative siding and confirm the intended coating and sheen.
Do paint samples eliminate the need for surface preparation?
No. Samples help evaluate appearance, not the condition of the entire exterior. Cleaning, repairs, appropriate removal of failing paint, caulking and priming still need to be addressed according to the substrate and coating requirements.