
Fence Staining in Norcross: Blending New Boards With Older Wood
New fence boards rarely take stain exactly like older wood. Learn how to assess existing finishes, prepare both surfaces and choose a realistic balance between visible grain and more uniform color.
Start With a Realistic Goal for the Repaired Fence
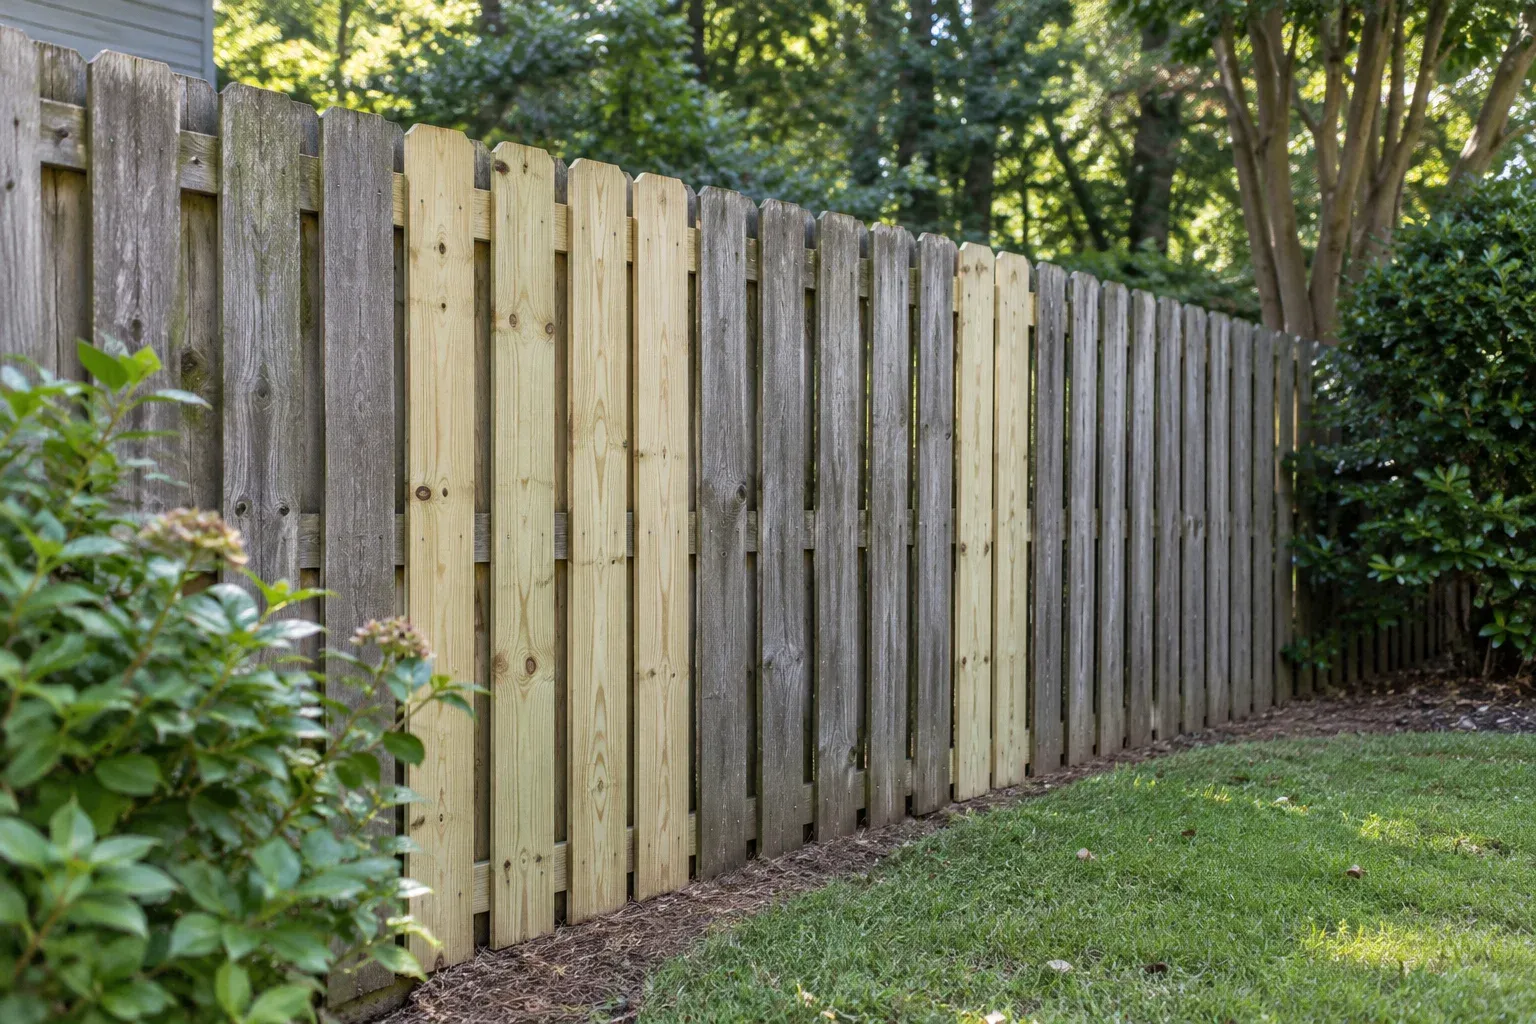
Fence staining in Norcross becomes more complicated when a few replacement boards sit beside years of weathered wood. The new pickets may look pale or slightly greenish, while the surrounding fence has turned gray or retained patches of an earlier finish. Applying one stain color across everything does not automatically erase those differences. For homeowners planning to keep their fence, the useful starting point is understanding the surfaces—not choosing a color from a small sample card.
A thoughtful fence staining plan considers wood condition, existing coatings, moisture and how much grain you want to see. Replacing unsound boards is supporting work; preparation and finish selection determine how the repaired fence will read as a whole. The goal may be a coordinated, natural-looking fence rather than an identical color on every picket. Establishing that expectation before application helps avoid disappointment after the stain dries.
Why One Stain Can Produce Several Shades
Stain appearance depends on both the product and the wood underneath it. Older boards have been exposed to sunlight and moisture, which change their surface color and condition. New boards may have a smoother face, different grain density or a different starting tone. Even replacement lumber sold under the same general description can vary from the original fence. A translucent brown over pale wood will not necessarily look like that same brown over gray wood.
Absorption adds another variable. Weathered surfaces can take stain unevenly, while smoother new lumber may accept less product in some areas. Knots, end grain and rough patches also behave differently from the surrounding face. Extra stain is not a dependable correction: exceeding the product’s application instructions can leave an unsuitable buildup or drying problems. Evaluate the whole fence from normal viewing distance, while recognizing that some board-to-board variation is part of a wood finish.
Let the Existing Finish Guide Preparation
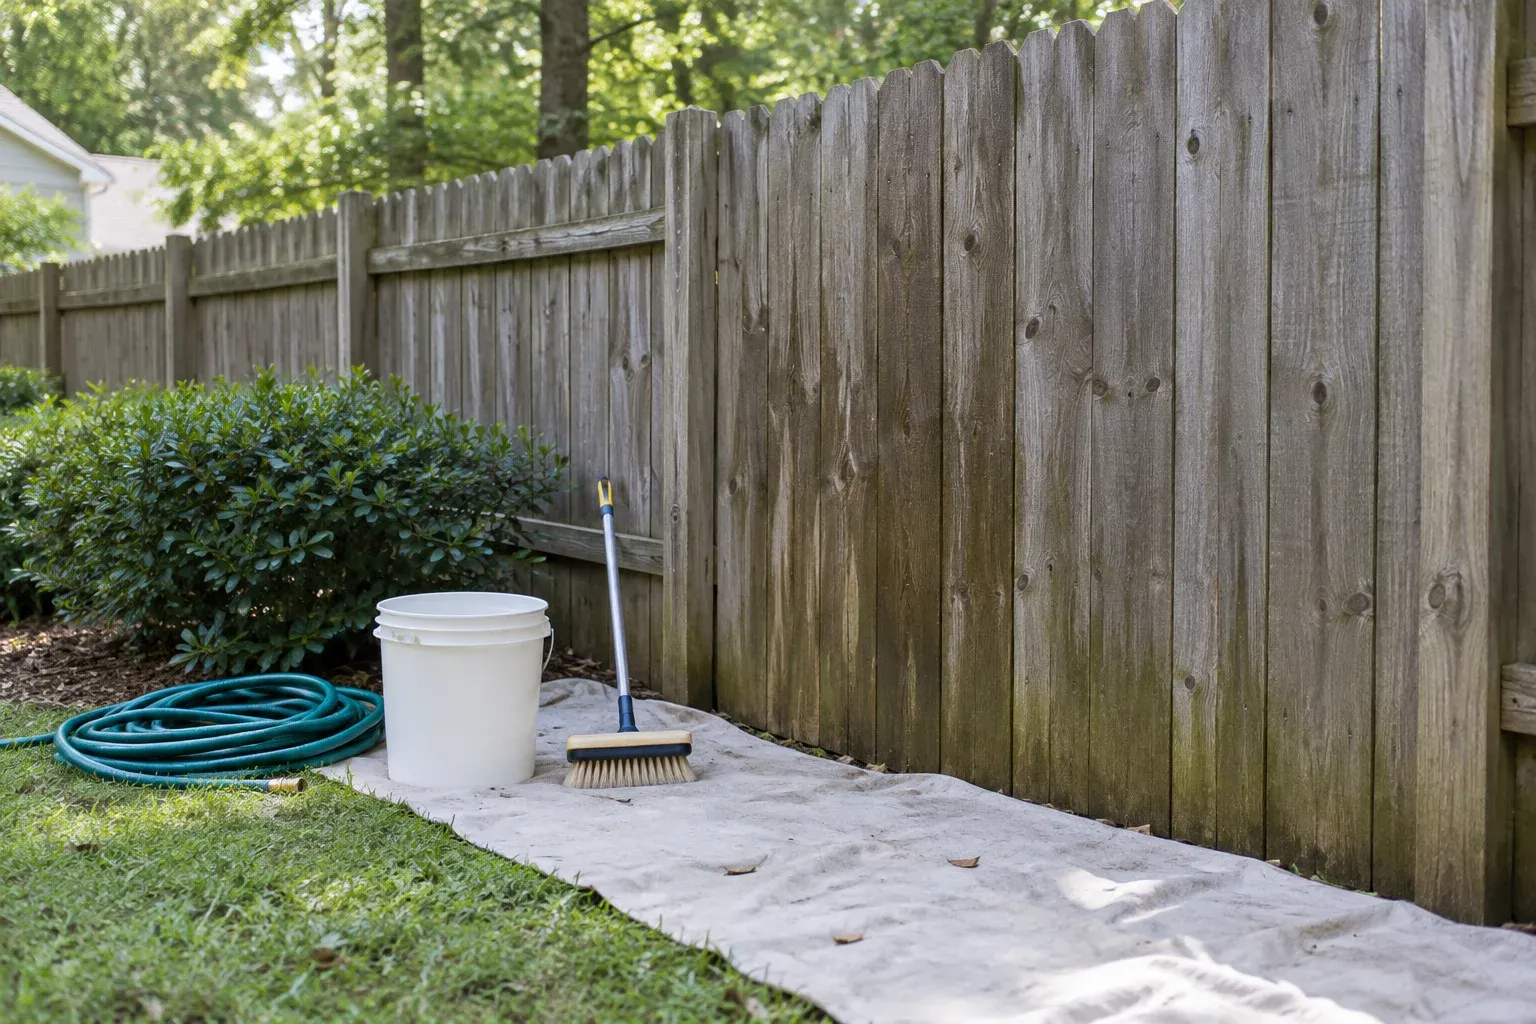
Before cleaning or buying stain, identify what remains on the older boards. Bare weathered wood, a fading penetrating stain and a peeling film-forming coating require different decisions. Look for remaining color in sheltered areas, glossy patches and edges where a coating is lifting. If you have records of the previous product, keep them available. Appearance alone may not reliably identify its chemistry or establish compatibility with the finish you now want.
A sound existing finish may permit recoating after appropriate cleaning and preparation, provided the selected product allows it. Loose or peeling material needs attention rather than being covered indiscriminately. Moving from an opaque coating to a grain-revealing stain can require substantial removal and may still leave uneven color. Ask whether the proposed preparation will create a suitable surface across both old and replacement boards, not simply whether the new stain is darker.
Prepare for Comparable Surfaces, Not Artificially Identical Wood
Preparation should address contamination and surface weakness without damaging otherwise sound wood. Remove dirt and organic growth using methods appropriate for the lumber and selected stain system. Aggressive pressure washing can gouge boards or raise fibers, creating another source of uneven appearance. Cleaning is not a substitute for removing an incompatible coating, and brightening is not automatically necessary for every fence. Choose each step for the condition present and follow the relevant product instructions.
Once cleaned and rinsed, the fence needs to dry to the stain manufacturer’s requirements. Newly installed pressure-treated lumber can contain enough moisture to delay finishing, so a fixed waiting period is less useful than checking readiness. Address splinters or raised fibers as needed, without polishing replacement boards into a noticeably different surface. In Norcross, account for rain, humidity and shaded areas when planning drying time; a sunny board and a sheltered board may not be ready together.
- Confirm that replacement boards are sound, secure and suitable for finishing.
- Identify remaining coatings before selecting cleaning or removal methods.
- Check the chosen stain’s moisture, surface preparation and weather requirements.
- Protect nearby plants, paving and other surfaces during preparation and application.
Choose Between Visible Grain and More Uniform Color
If visible grain is the priority, a transparent or semi-transparent finish may suit the fence, but expect the underlying differences to remain more apparent. These finishes can bring the boards into a related color family without concealing their individual character. A darker sample might reduce some contrast, yet it can also emphasize absorbent patches. Choose this direction because you like the tested wood appearance, not because the color name suggests it will hide repairs.
If a more uniform appearance matters most, consider a more heavily pigmented stain compatible with the existing surface. Solid-color stain generally conceals more of the wood’s color and grain pattern while leaving some texture visible. Product categories and coverage vary, so compare actual samples rather than relying on labels alone. For an owner-operated business with a customer-facing courtyard fence, the same choice applies: decide whether natural variation or a more consistent visual backdrop better suits the space.
Test the Finish Across Both Board Ages
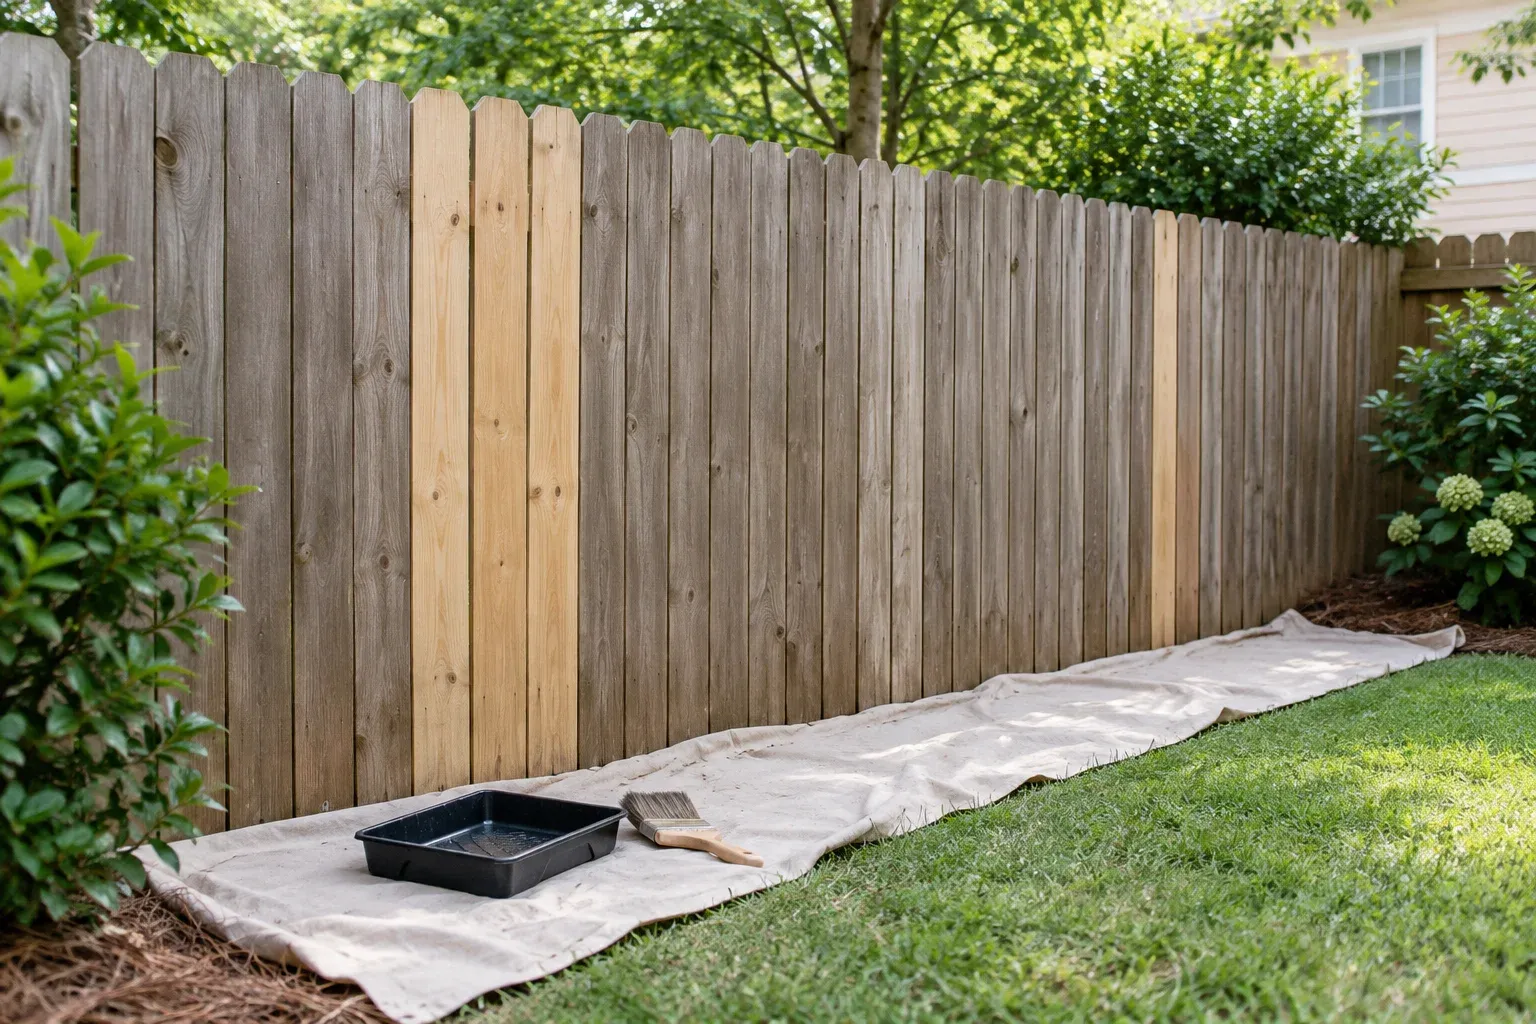
A useful test section includes both replacement wood and older boards prepared as they will be for the finished project. Testing only one clean new picket cannot predict the rest of the fence. Include a representative area with remaining discoloration or a different exposure when those conditions are common. Use the intended application method and the specified coat schedule so the sample reflects the proposed work rather than an unusually heavy dab of stain.
Allow the test to dry as directed before judging it. View it in daylight from the patio, yard or other places where you normally see the fence, not only from arm’s length. Compare the contrast between boards as well as the overall color. If the difference is unacceptable, reconsider preparation, opacity or color before proceeding. Testing cannot guarantee identical results everywhere, but it makes the trade-off visible while there is still room to change the plan.
Carry the Tested Plan Through the Whole Fence
Once you select a finish, consistent application helps avoid adding preventable variation. Follow the manufacturer’s directions for coverage, working conditions, coat count and any back-brushing. Work in manageable sections and maintain wet edges where required. Do not assume replacement boards need extra coats simply because they look lighter; changing the application can alter sheen or buildup without solving the underlying color difference. Record the product and color for future maintenance.
For fence staining in Norcross, discuss the desired appearance, existing finish, preparation scope and representative test areas before approving the work. When contacting Alpharetta Painters and Stainers (Paint and Stain), describe where boards were replaced and whether visible grain or reduced contrast matters more to you. A clear plan allows repairs to support the staining project while keeping the main objective realistic: a well-prepared fence with a cohesive finish, not a promise that every board will look identical.
Frequently asked questions
Will the same stain make new and old fence boards match?
Not necessarily. Differences in original wood color, grain, weathering and absorption can remain visible through stain. More opaque finishes generally conceal more color variation, but representative test sections are the best way to judge the likely result.
How long should replacement fence boards wait before staining?
There is no single waiting period that fits every board or stain. Replacement lumber must meet the chosen product’s moisture and preparation requirements. Pressure-treated boards may need additional drying, so assess readiness rather than relying only on elapsed time.
Does old fence stain always need to be removed?
No. A sound existing finish may be suitable for recoating with a compatible product after the required preparation. Peeling, poorly bonded or incompatible coatings may need removal. Check the existing finish and the new product’s instructions before deciding.