Hole Repair in Doraville: Why Old Shelf Holes Still Show After Painting
Old shelf holes can remain visible despite feeling smooth. Learn how repair edges, texture, primer and paint choices affect a cohesive wall finish.

A smooth patch is not necessarily a matching patch
Hole repair in Doraville often starts with a simple change: taking down shelves, relocating a television bracket, or removing wall-mounted storage. The holes get filled, the surface feels smooth, and a coat of paint seems like the final step. Then daylight crosses the wall and reveals the old mounting pattern. For homeowners planning to stay in their homes, that repeated reminder can matter more than it would during a temporary refresh.
A visible repair does not automatically mean the filler failed. The wall may be showing differences in shape, texture, absorption, or sheen. Understanding which difference you see helps keep hole repair focused on the actual problem instead of repeatedly adding paint that cannot solve it.
Separate patch edges from texture differences
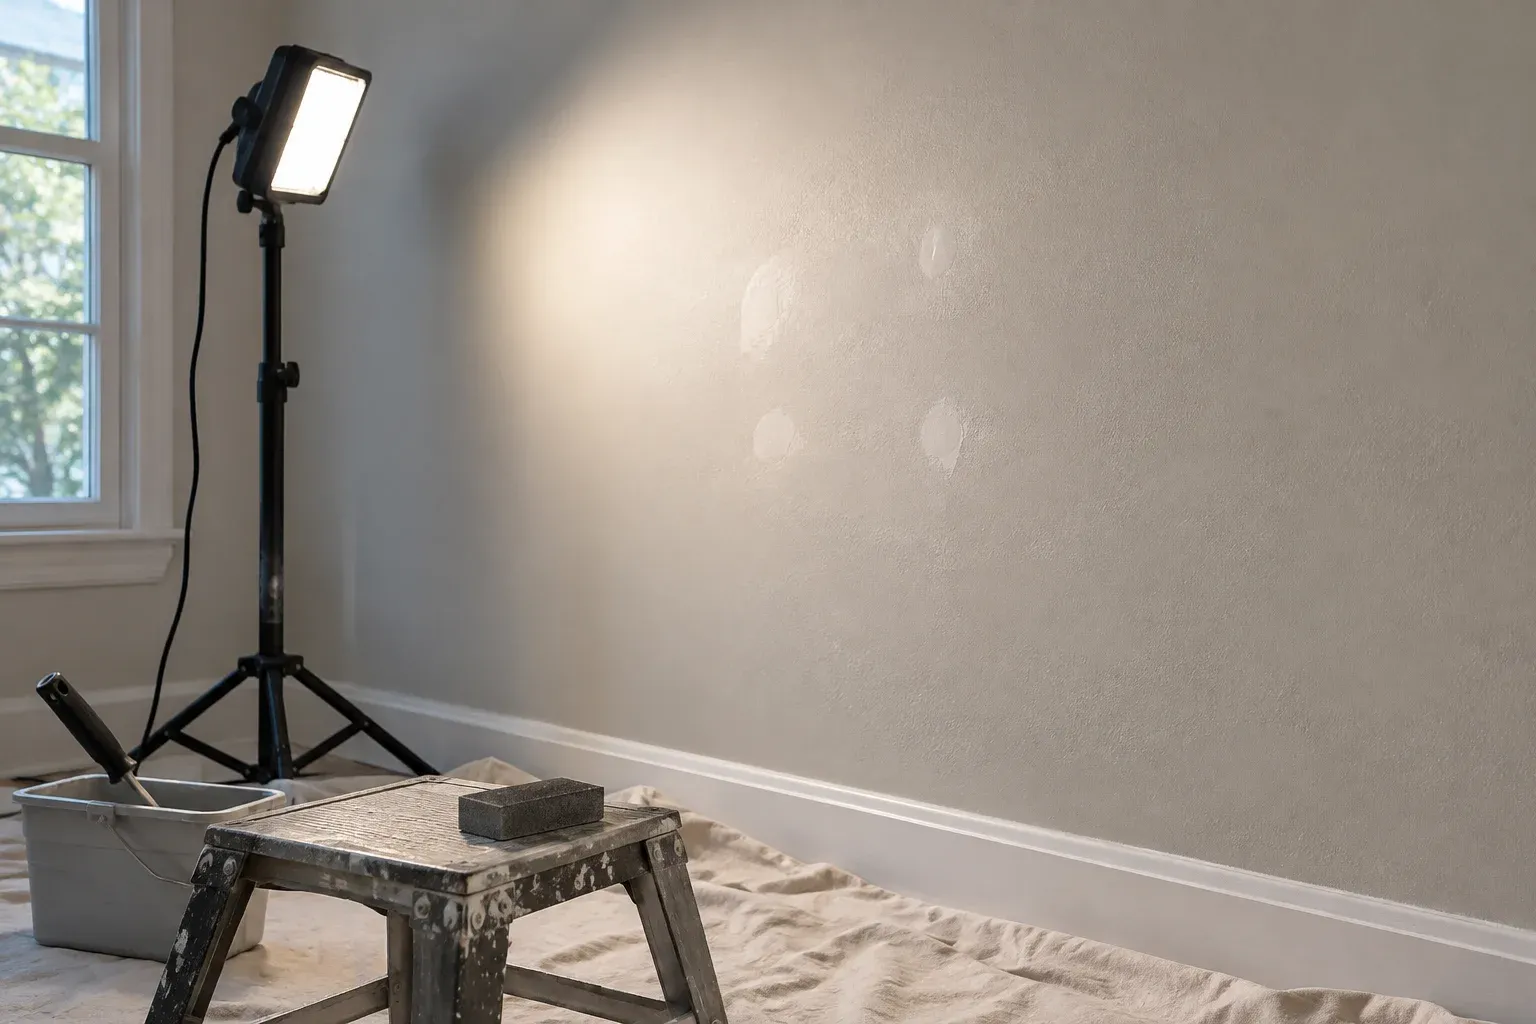
A filled hole can have a slight raised perimeter even when its center feels level. Compound applied only over the opening may leave a small mound, while sanding only the center can preserve a ring around it. The opposite problem is a shallow depression caused by shrinkage or insufficient filling. Light traveling across the wall emphasizes these small changes in profile. More finish paint usually follows the same contour rather than hiding it.
Texture is a separate issue. Many apparently smooth walls carry a fine stipple from earlier roller applications. A sanded patch may be much smoother than that surrounding finish, creating a distinct island after painting. Walls with an intentional texture require a closer match in pattern and scale. Effective hole repair addresses the damaged opening and the transition around it; making the patch perfectly polished can actually increase the contrast with a lightly textured wall.
Uneven absorption can make a level repair stand out
Bare repair compound and an existing painted wall do not necessarily absorb a new coating equally. An unprimed patch can draw in components of the paint differently from the surrounding sealed surface. The result may look duller or uneven even when the color is nominally the same. This appearance is often described as flashing. It can cover the repair itself rather than trace a distinct raised edge.
Check the repair from several positions after the coating has dried according to its instructions. If it looks reasonably level but changes appearance as you move, absorption or sheen may be involved. If a clear rim casts a shadow under side lighting, the surface profile deserves attention first. These clues are not a laboratory diagnosis, but they help distinguish a preparation problem from one that mainly concerns the coating system.
Sheen and viewing angle change what you notice
Sheen describes how a finish reflects light. A touch-up may reflect differently because the paint product, application method, film thickness, or drying conditions differ from the original work. A brush-applied spot can also leave a different texture from a rolled wall. Even paint saved from the original project may not match a finish that has aged, been cleaned repeatedly, or received uneven daylight.
Higher-sheen finishes tend to emphasize surface irregularities, although lower-sheen paint does not erase them. Look at the wall under the lighting you actually use: daylight from a nearby window, ceiling lighting, and lamps. A patch that disappears straight on may still be noticeable from a hallway or a favorite chair. Decide what is acceptable from normal viewing positions rather than inspecting only a few inches from the wall.
Prepare the hole and its surrounding surface
Preparation begins with the opening, not the paint can. Shelf anchors can leave broken drywall paper, loose material, or a raised lip around the hole. Remove or deal with the anchor appropriately, then remove unsound material without unnecessarily enlarging the damage. Torn paper may need a suitable sealer before filling. A larger opening, crumbled gypsum, or damaged backing may require a supported patch rather than a surface dab of filler.
Use a repair material suited to the damage and follow its application and drying instructions. Build the repair in appropriate layers, feather the transition, and inspect it with light crossing the wall. Sand only as needed to level the repair without damaging the surrounding surface. Remove residual dust before priming. Where texture needs matching, test the method in an inconspicuous area. Dust control, suitable protective equipment, and protection for nearby furniture belong in the preparation plan.
- Check whether the anchor left a raised rim or torn paper.
- Look for a depression as well as a mound.
- Compare the repair texture with the surrounding wall.
- Inspect and remove dust before applying primer.
Use primer to manage absorption, not conceal poor preparation
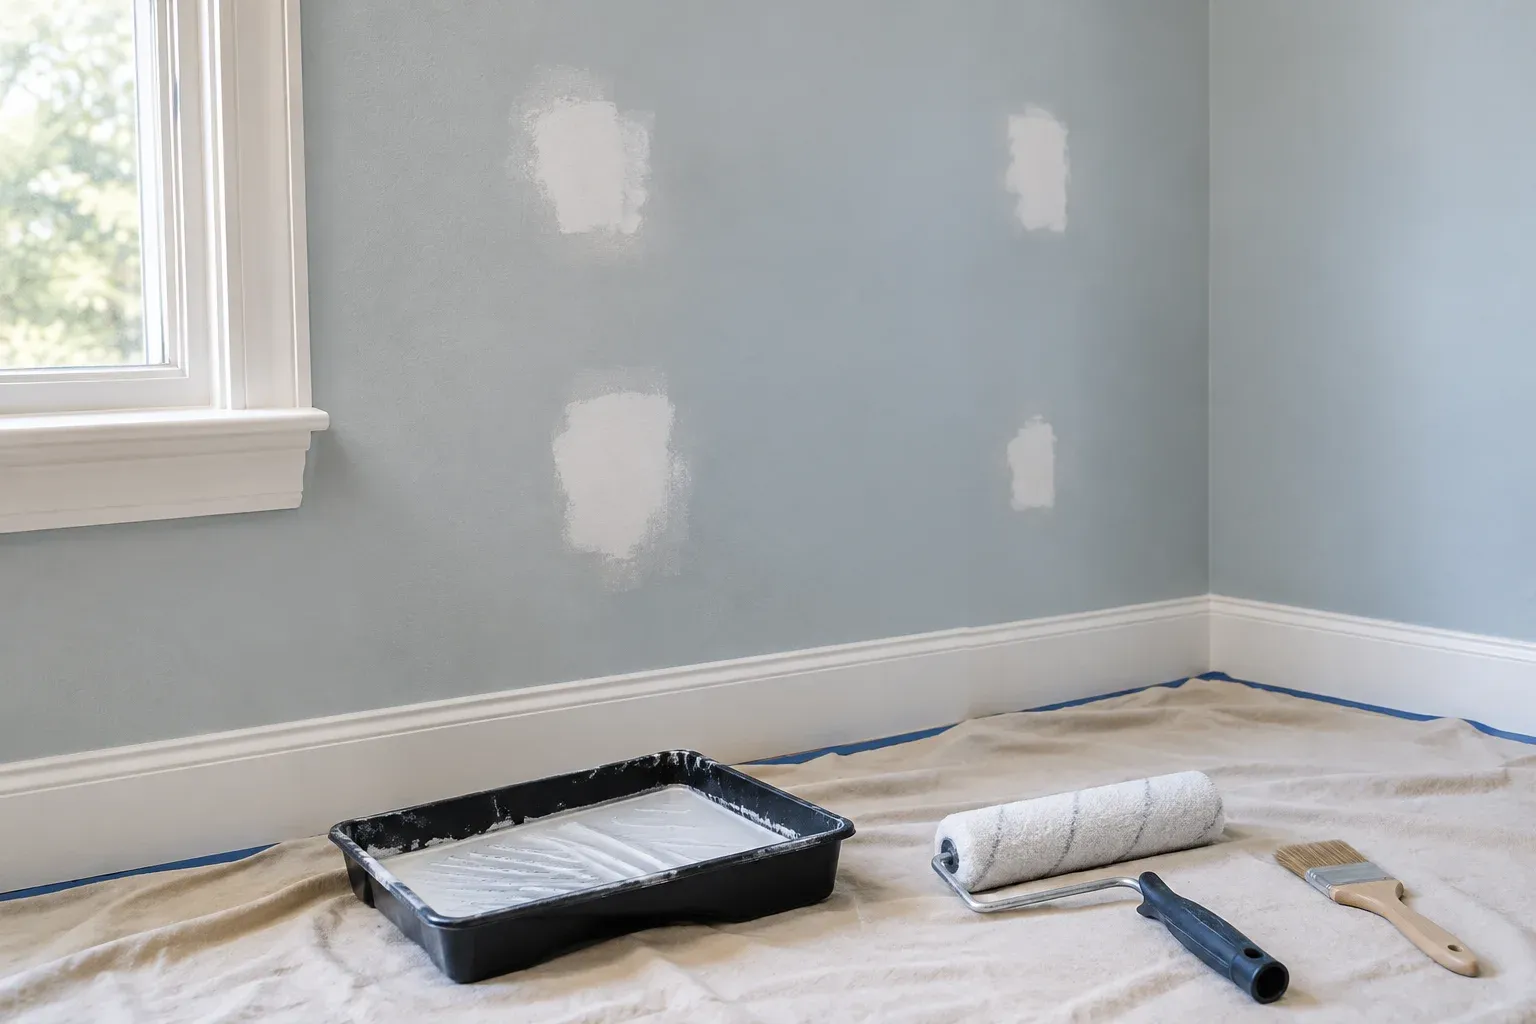
Primer helps establish a more consistent base over exposed repair material. It is not a substitute for leveling or texture work. Choose a primer compatible with the repair material, existing surface, and planned finish coat, following the manufacturers’ instructions. Damaged paper or staining can require a different preparation product from an ordinary clean patch. Avoid assuming that every primer solves every substrate problem.
For isolated repairs on an otherwise sound painted wall, spot priming may be appropriate. Numerous patches or broad variations in surface condition may justify priming a larger area. Keep the primer application controlled so it does not introduce heavy edges or a new texture mismatch. Once dry, inspect the area again. This is the opportunity to correct a remaining ridge before the finish coat makes it more conspicuous.
Choose touch-up painting or a full-wall finish deliberately
Touch-up painting is most promising when the repair is small, the surrounding coating is relatively recent, and the original paint product and application method are known. Match the product and sheen, not just the color name. A limited test can show whether the repaired area blends acceptably once dry. Expanding the touch-up repeatedly may create a larger visible difference instead of resolving the original spot.
Repainting the wall to natural boundaries, such as inside corners, often offers a more cohesive finish when several shelf holes form a pattern or the existing paint has aged. The repairs still need preparation and primer where appropriate. Interior house painting can address the finish across that wall without automatically requiring every room to be repainted. Small office owners and independent retailers removing wall-mounted displays face the same surface issues, though the repair scope should reflect their actual wall materials and use.
Plan for a cohesive finish in Doraville
When discussing hole repair in Doraville with Alpharetta Painters and Stainers (Paint and Stain), identify where fixtures were removed, how many holes remain, and when the patches are most visible. Ask whether the proposed scope addresses patch edges, texture, exposed repair material, and the final painting boundary. Those details are more useful than asking only whether the holes will be filled.
For long-term homeowners, the goal is a sound repair and a finish that looks cohesive under normal room lighting—not an unconditional promise that every patch will disappear. Hole repair in Doraville is easier to plan when surface correction and painting are treated as connected but distinct decisions.
Frequently asked questions
Why can I see a repaired shelf hole when the wall feels smooth?
Touch does not reveal every difference in a wall finish. A patch may have a shallow edge, a smoother texture, different paint absorption, or a different sheen from the surrounding wall. Side lighting can make these differences visible even when the repair feels level.
Does every repaired hole need primer before painting?
Exposed repair compound generally needs a compatible primer unless the specified coating system explicitly allows otherwise. Primer helps reduce uneven absorption, but it does not correct a ridge, depression, or texture mismatch. Follow the repair material and coating manufacturers’ instructions.
Should I touch up the repair or repaint the whole wall?
A touch-up is more promising when the wall paint is relatively recent, the original product is available, and the repair texture matches. Repainting to natural wall boundaries is often a better choice for aged finishes, multiple repairs, or prominent lighting. The underlying repairs still need proper preparation.