
Planning a Paint-Ready Siding Installation in Woodstock
Before siding work begins, clarify the supplied finish, coordinate trim and paint choices, and assign each preparation and finishing task in writing.
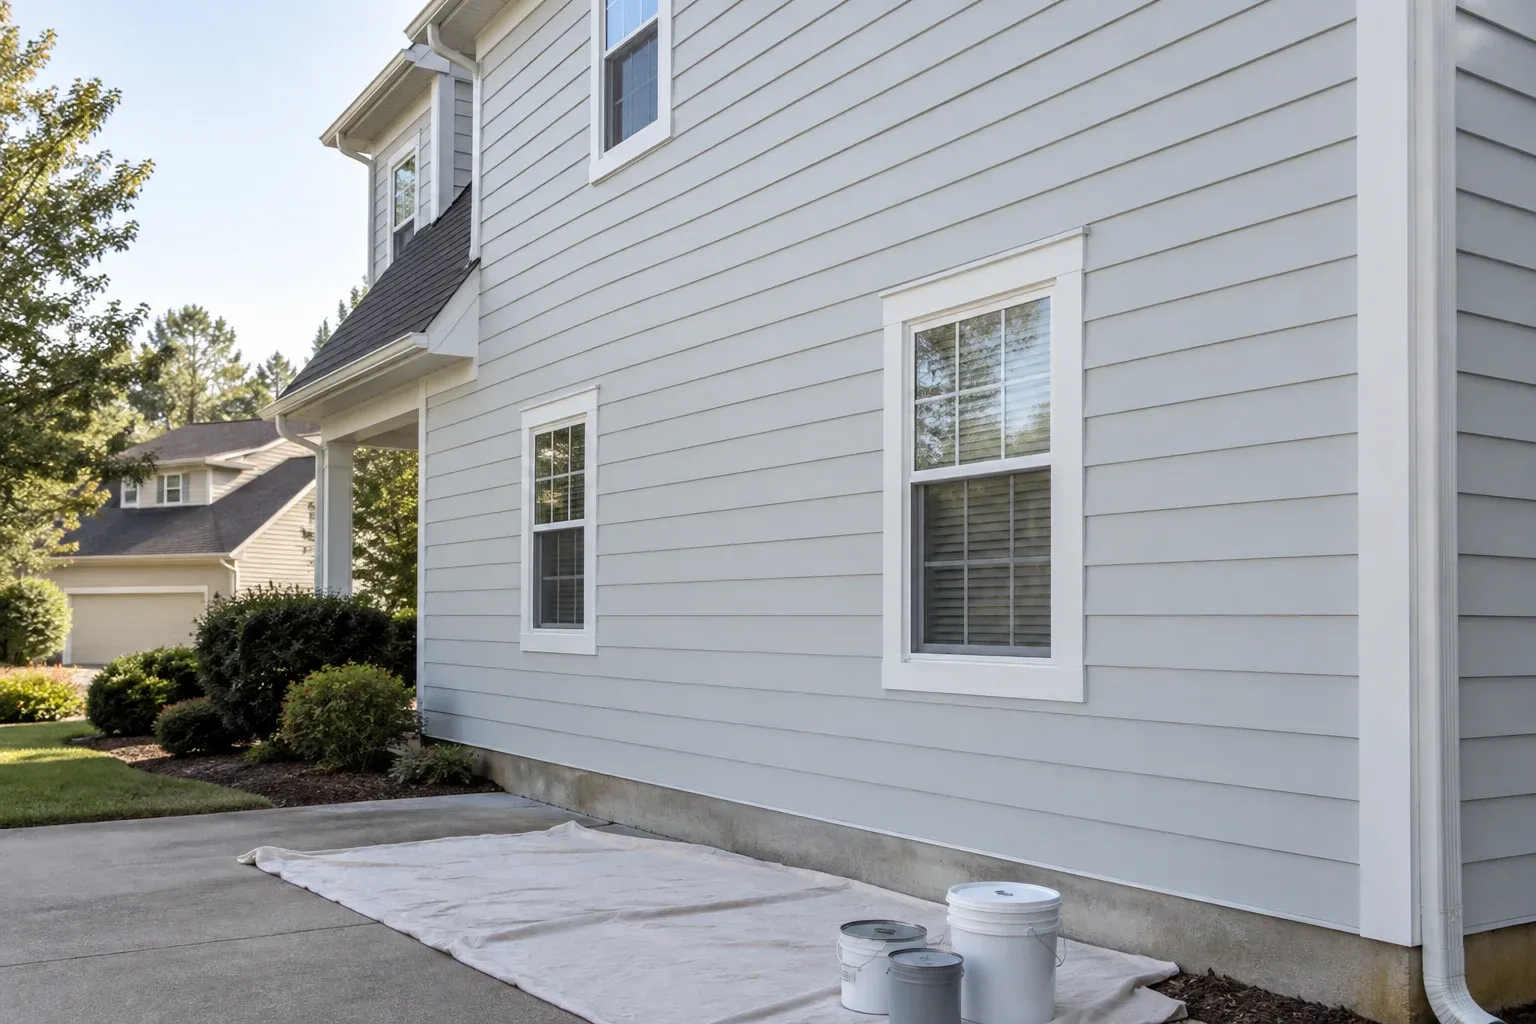
Start with a written definition of paint-ready
Planning siding installation in Woodstock should include the painting decisions before the first board arrives. For a long-term homeowner, the goal is not simply new siding; it is an exterior whose preparation, trim details, and finish work fit together. A proposal that says “ready for paint” can leave important questions unanswered: Is the siding primed or fully finished? Who treats exposed cuts? Does the painting price include new trim and existing fascia?
A written paint-ready scope turns those questions into assigned tasks. It should identify the materials, required treatments, coating products, exclusions, and handoff between installation and painting. This is general planning guidance, not a description of any contractor’s standard procedures. It also applies when coordinating siding work around an owner-operated office or workshop, where entrance access and protection of adjacent surfaces need attention alongside the finish.
Confirm what finish the siding actually arrives with
Ask for the siding manufacturer, product line, profile, and supplied finish to appear in the proposal. Factory-primed siding and factory-finished siding involve different finishing plans. James Hardie’s product FAQs distinguish primed products ready for painting from ColorPlus Technology finishes cured onto boards during manufacturing. That distinction is useful, but it does not establish the instructions for every siding brand or every product within one brand.
For primed siding, establish who supplies and applies the final coating, whether additional primer is required for particular areas, and what finishing deadline applies. For factory-finished siding, clarify whether the intended scope is limited approved touch-up work rather than repainting the wall. Ask the contractor to reference the current instructions for the exact product. Record what happens if delivered boards have damage, an incorrect finish, or extended exposure before painting; those conditions should be resolved rather than covered without discussion.
- Record the exact siding product and supplied finish.
- Identify the applicable installation and finishing instructions.
- Separate full-wall painting from localized touch-up work.
- Assign decisions about damaged or unsuitable boards.

Coordinate trim and coating choices before ordering
List the trim surfaces individually: window surrounds, door surrounds, corners, fascia, soffits, and any decorative boards. New siding beside retained trim can reveal peeling paint, soft wood, or uneven previous coatings that were less noticeable before. Decide which pieces remain, which need repair, and which are replaced before approving colors. If trim replacement is part of the work, the estimate should also state how that new material will be prepared and finished.
Choose color and sheen with actual samples viewed outside, including shaded areas and surfaces near brick or roofing. Identify each trim material because wood, fiber cement, and metal may need different preparation or coating systems. Avoid assuming one primer suits everything. Define whether retained trim receives a complete repaint or only localized work, and whether the siding color continues onto accessory surfaces. Those choices affect the finished appearance and the amount of preparation included in the price.
Assign edge and joint treatments without blanket rules
Joint treatment is where a vague handoff can become a practical problem. Ask who handles field-cut edges, approved sealant locations, nail-head corrections, and installation damage. Some work must happen while boards or trim are being installed, before an edge becomes inaccessible. The painter should not be left to guess what was treated behind a finished corner, and the installer should not assume that a final coat will correct an installation defect.
Requirements are product-specific. For example, James Hardie’s Architectural Panel installation overview calls for treatment of field-cut edges and describes a panel system using particular joint trims. It also warns against overdriven nails because holes may become apparent after painting. These are instructions for that panel system, not a universal recipe for lap siding. The scope should distinguish joints requiring approved sealant from flashing, drainage spaces, or clearances that must remain as specified. “Caulk every gap” is not a sound substitute for the applicable installation details.
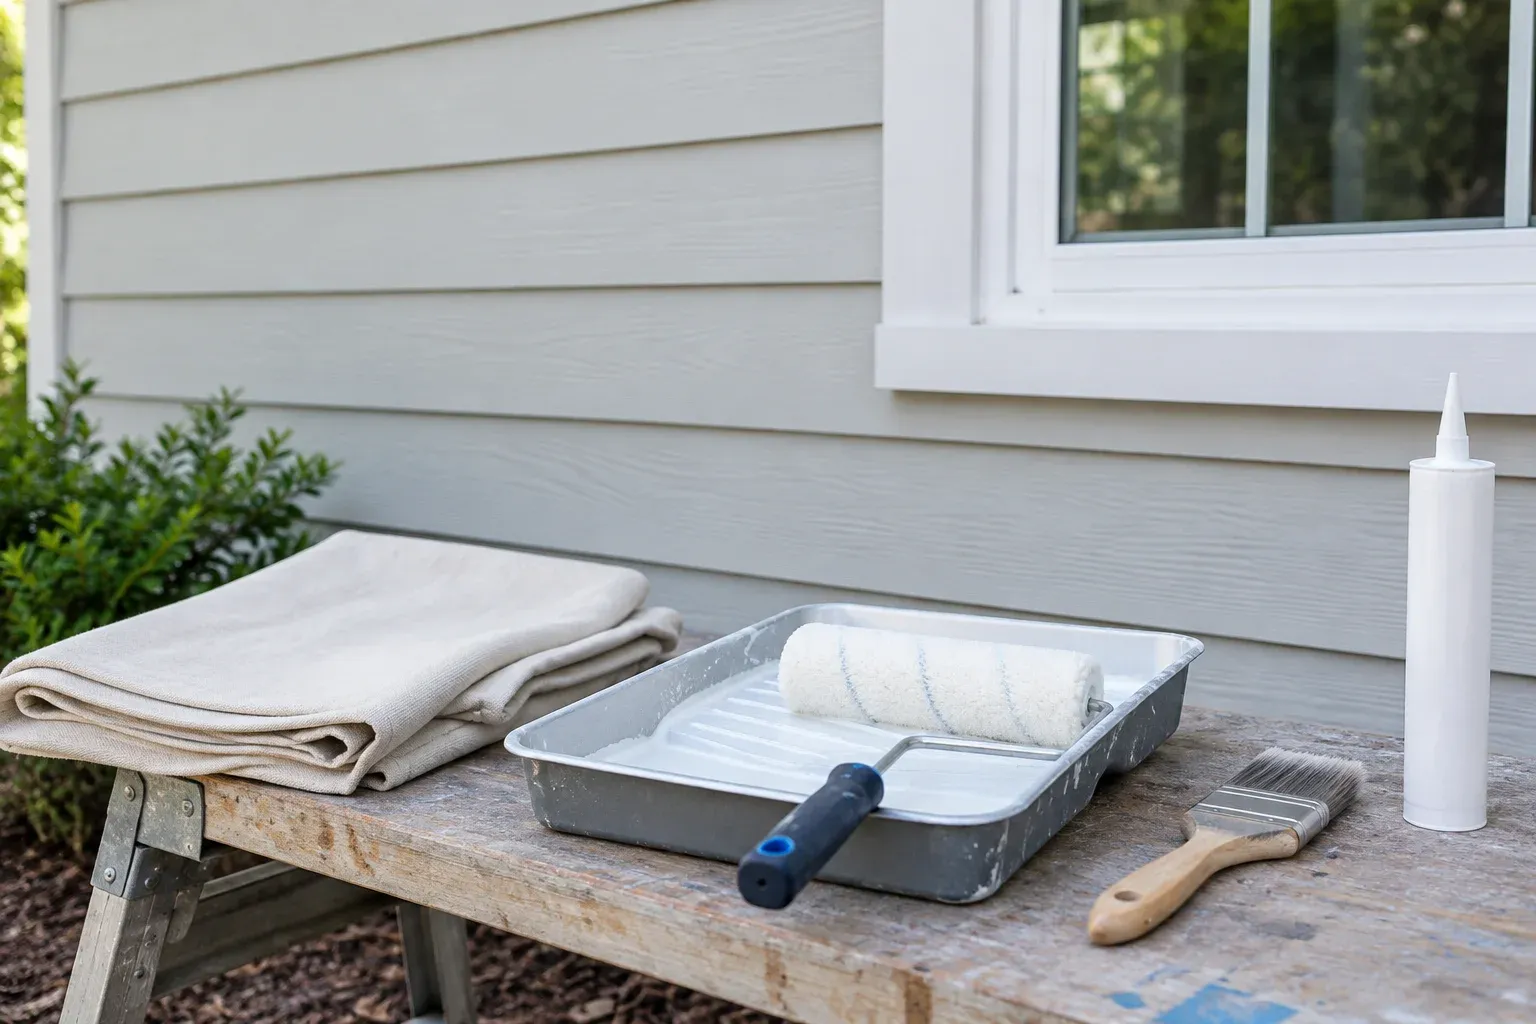
Set a surface-preparation handoff before painting
Define the surface condition the painter is accepting. Sherwin-Williams’ exterior surface-preparation guidance describes a properly prepared surface as clean, solid, and dry, and recommends checking adhesion and compatibility before a full application. New siding can still collect dirt during handling or develop areas needing attention. The written scope should cover inspection, appropriate cleaning, drying, correction of damaged surfaces, and any required spot priming—not just the final color coats.
For retained painted trim, preparation may involve loose-coating removal and other substrate-specific work. Older coatings also warrant discussion of potential lead hazards before disturbance; they should not be treated as ordinary dust. Agree on protection for windows, roofing, masonry, landscaping, and occupied entrances. A short walkthrough before exterior house painting begins can establish what is accepted, what needs correction, and who completes that correction. Painting should follow the handoff, not conceal unresolved problems.
Plan weather allowances and finish-specific touch-ups
Weather belongs in the scope as a condition, not merely a calendar date. For Woodstock projects, discuss how rain, damp surfaces, and changing temperatures can alter the painting window. Use the selected coating’s published limits for application and drying rather than promising to paint immediately after installation. Sealant curing, primer drying, and finish-coat recoat intervals may each affect the sequence. Ask who protects unfinished work if weather delays the next stage.
Touch-ups deserve their own line item, especially with factory-finished siding. James Hardie offers ColorPlus touch-up kits containing paint, nail concealer, and edge sealer formulated for that finish. That does not make broad patches with ordinary wall paint an equivalent treatment. Have the scope identify the approved products, permitted uses, and person responsible for application. Define when damage calls for a replacement decision rather than another touch-up, and evaluate the completed appearance from normal viewing positions under ordinary daylight.
Review one coordinated scope before work begins
Before signing, read the installation and painting estimates together. Look for tasks missing from both documents or included differently in each. “Preparation included” should be expanded into recognizable work, while exclusions should identify retained surfaces, concealed repairs, and changes requiring approval. Keep the approved colors, product names, sheen selections, and application requirements with the scope so later questions do not depend on memory.
When discussing siding installation with Alpharetta Painters and Stainers (Paint and Stain), use this checklist to request a project-specific explanation of the installation-to-painting responsibilities. Confirm those answers in writing rather than assuming a particular company process. For siding installation in Woodstock, a useful plan ends with a clear inspection and correction process, recorded finish information, and no uncertainty about who completes the final painting. That preparation supports the durable, coherent result a long-term homeowner is planning for.
- Who completes each installation-stage treatment?
- What condition must surfaces meet before painting?
- Which primer, finish, and touch-up products are approved?
- Who corrects damage and incomplete work?
- What finish information is provided at completion?
Frequently asked questions
Does factory-primed siding still need final painting?
Factory primer is not the same as a completed color finish. Confirm the exact siding product, its required finishing schedule, and the compatible coating system. Factory-finished siding may instead need only manufacturer-approved edge treatment and limited touch-ups.
Who should handle cut edges and joint treatments?
Assign these tasks explicitly in the written scope. Some treatments must occur during installation, before the painter can reach them. The responsible contractor should follow the exact product’s current instructions rather than a general rule for all siding.
What should a paint-ready handoff include?
Include an agreed inspection of surface cleanliness, dryness, damage, exposed edges, required joint treatments, and unfinished trim. Record outstanding corrections, the person responsible for each, and the approved primer and finish products before painting begins.