Why Drywall Patching Can Show Through Paint in Smyrna Homes
A practical guide to visible drywall patches: how to separate surface defects from paint differences and define a repair scope that supports better blending.
A visible patch is not always a paint problem
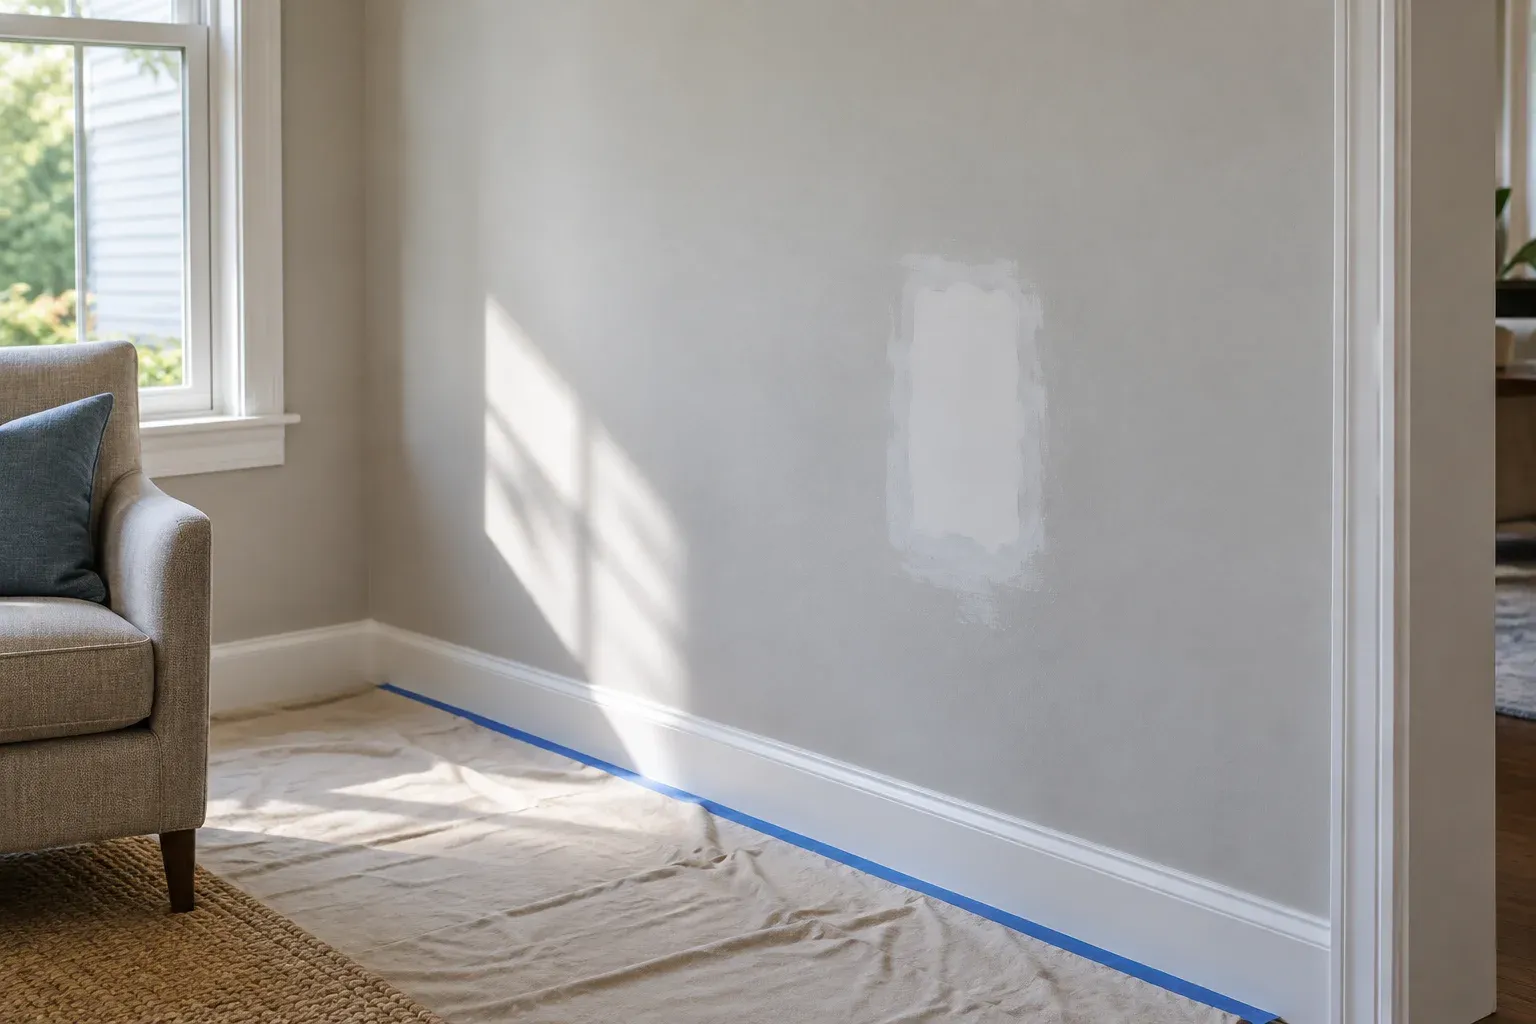
Drywall patching in Smyrna homes can look smooth before painting yet remain noticeable afterward. A repaired nail hole may appear as a shiny spot, while a larger patch can cast a faint shadow beside a window. Those differences do not all have the same cause. Understanding what you are seeing helps you decide whether the wall needs further preparation, primer or a broader repaint.
For homeowners planning to stay in their homes, the useful question is not simply whether the hole is filled. It is whether the repair blends with the surrounding surface under everyday lighting. A complete drywall patching scope should distinguish the physical repair from texture matching and paint restoration, rather than treating every visible mark as a paint-coverage problem.
Separate raised edges, texture differences and uneven sheen
Start by looking at the repair straight on, then from an angle in daylight and with the room's usual lamps switched on. Light traveling across a wall makes small ridges and depressions easier to notice. A visible outline that creates a shadow suggests a surface-shape problem. A smooth-looking spot that changes brightness as you move may instead reflect a sheen difference.
Texture needs a separate check. A patch might be flat but have fewer bumps, a different stipple or a smoother roller pattern than the surrounding wall. Color differences can also remain because the original coating has aged or the touch-up paint does not match. Several causes can overlap, so a shiny patch should not automatically be diagnosed as missing primer alone.
Raised edges need surface preparation, not extra paint
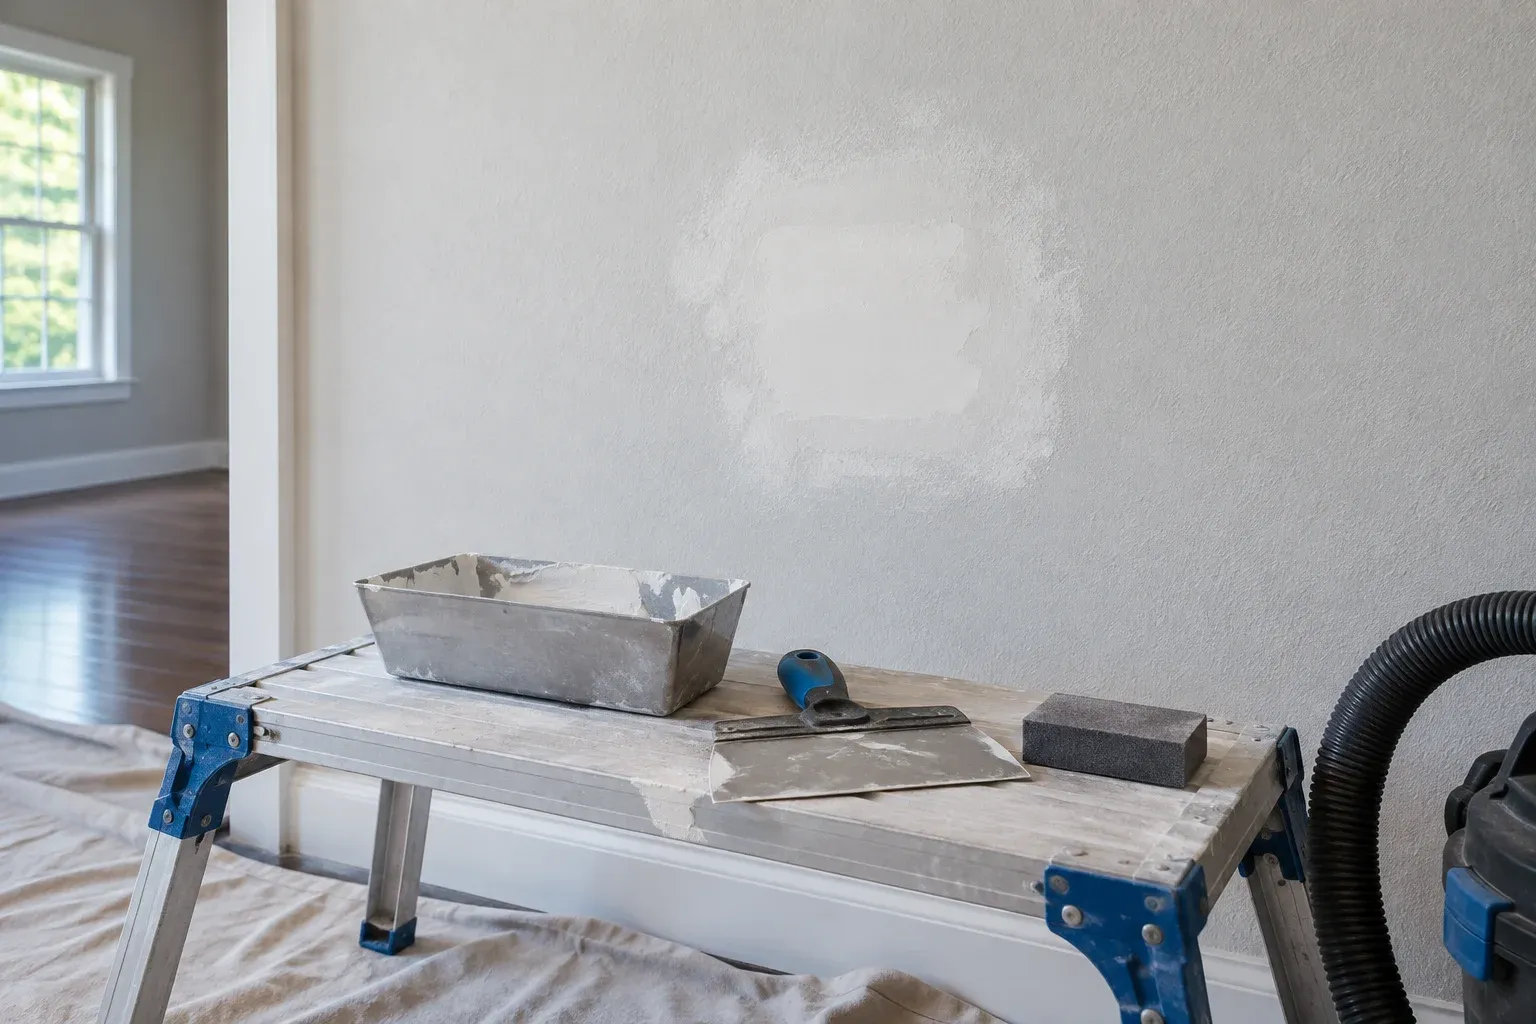
A raised perimeter often means the repair material transitions too abruptly into the existing wall. A shallow depression can produce the opposite effect: the filled area sits below the surrounding surface. Paint follows those contours rather than leveling them. Repeated coats may change the color or sheen, but ordinary wall paint cannot reliably erase a ridge or fill a noticeable hollow.
Further preparation may involve carefully reducing high spots or applying additional compound across a wider area to create a gentler transition. The objective is a gradual blend, not aggressive sanding in one small spot. Compound must be dry as directed before sanding and coating. Dust control and protection of nearby furnishings matter; where older coatings may contain lead, assess the hazard before disturbing them.
Texture must blend with the surrounding wall
Even walls described as smooth usually have some surface character from previous roller applications. Filling and sanding a hole can leave an unusually slick area within that pattern. On a textured wall, the difference may be more obvious: a repair can lack the existing texture or carry a heavier pattern that draws attention after the finish coat dries.
Matching texture involves more than selecting a similar-looking material. Pattern size, density and the transition around the repair all affect the result. A small test area can help establish the intended appearance before final painting. Texture should not be used to conceal an unresolved ridge; surface shape and texture are separate preparation tasks, and both need attention when both are visibly different.
Primer supports an even finish but cannot flatten a patch
Bare joint compound is porous and can absorb a coating differently from an already-painted wall. That difference can leave a duller or otherwise uneven-looking area, sometimes called flashing. A compatible primer helps create a more uniform base for finish paint. It is especially relevant where sanding or repair work has exposed compound or drywall paper, subject to the coating manufacturer's instructions.
Primer is not a substitute for feathering edges or matching texture. After it dries, the repaired area still needs inspection because coating the surface may make remaining defects easier to see. Torn paper and discoloration can require different preparation or primer choices than clean compound. If moisture caused the damage, its source must be addressed before treating the wall as a cosmetic repair.
When repainting the whole wall may improve blending
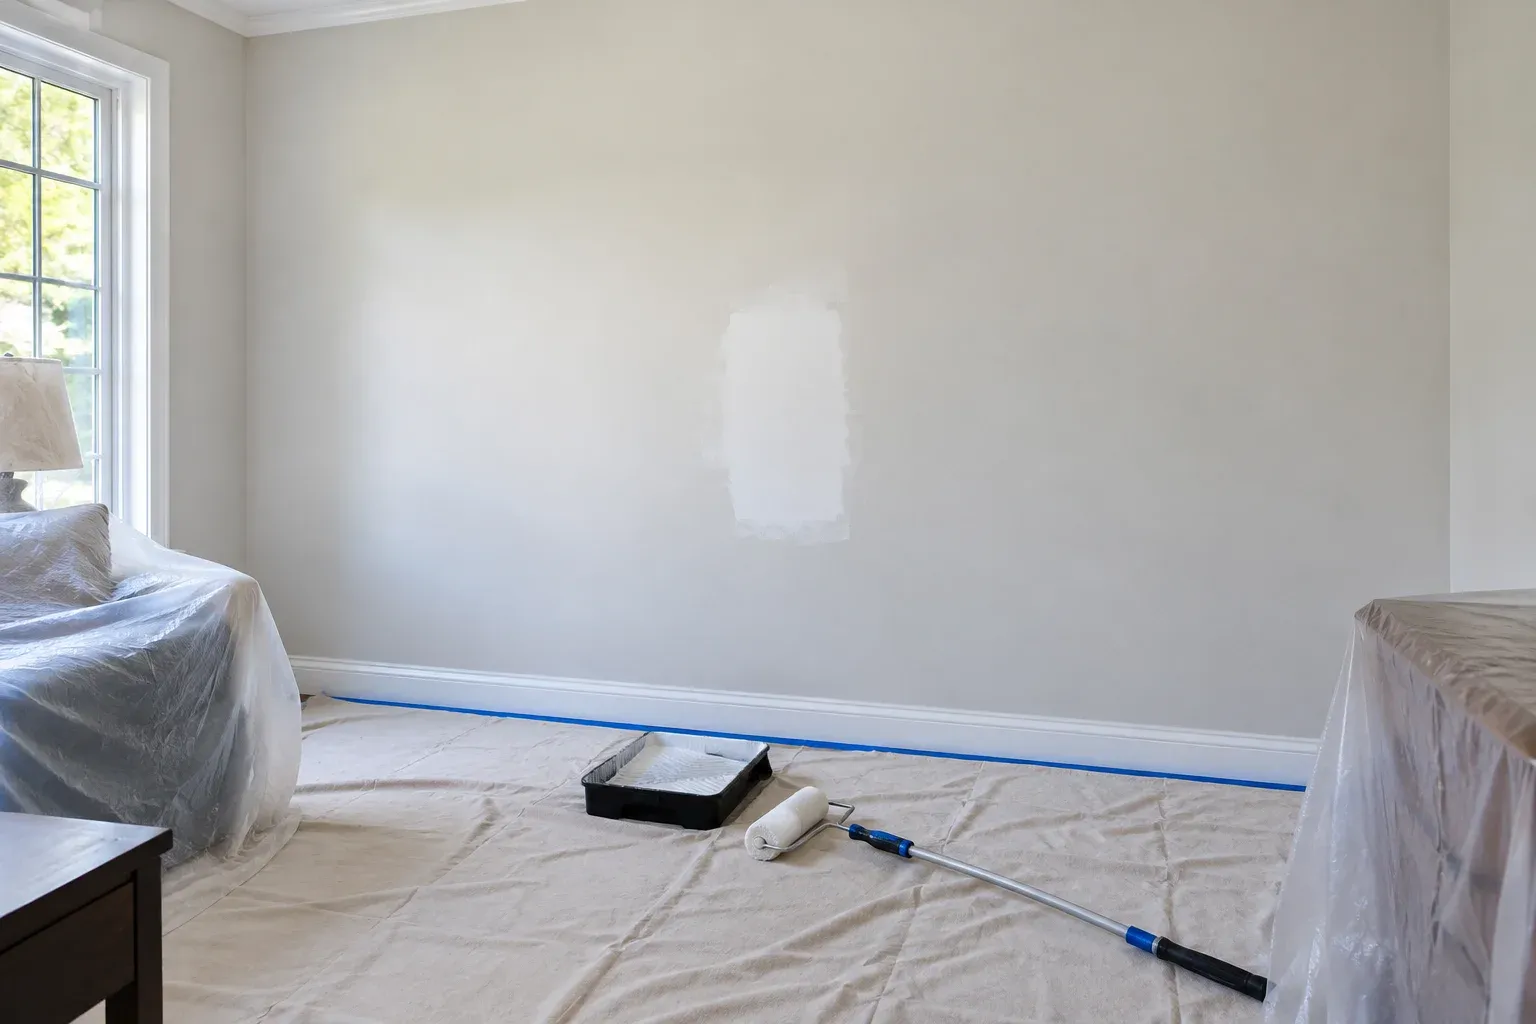
Once the surface is sound, flat and appropriately primed, paint application becomes the next variable. Matching the original color does not necessarily match its current appearance. Age, cleaning and exposure can alter the existing finish. Roller nap, paint film thickness and application technique can also affect the texture and sheen of a touch-up, particularly on walls viewed in strong side lighting.
Repainting the surrounding wall from corner to corner can reduce the abrupt transition between new and existing paint. It does not mean every repair requires repainting the entire room. Natural wall boundaries often provide a sensible stopping point. When discussing interior house painting alongside the patch, clarify which wall surfaces are included and whether the existing coating can be identified well enough for a limited touch-up.
Questions that make the repair scope clearer
A useful estimate separates filling the damage, smoothing the transition, matching texture, priming and applying finish paint. These are related tasks, but they are not interchangeable. For a hallway beside a bright window, appearance under side lighting may deserve particular discussion. In a less exposed area, a localized repair may meet your expectations without expanding the painting scope.
The same distinction helps owners planning repairs in a private office or customer-facing business interior: filling a hole and restoring a consistent wall appearance are different scope items. For your home, explain where you normally notice the patch and how much variation concerns you. Clear expectations are more useful than an unsupported promise that any repair will become invisible.
- Does the visible difference come from wall shape, texture, sheen, color or a combination?
- Will the repair perimeter need additional feathering before painting?
- How will the surrounding texture or roller pattern be matched?
- Which primer is appropriate for the exposed repair materials?
- Does the estimate include a touch-up, a complete wall or additional walls?
- Under which normal room lighting will the finished appearance be assessed?
Choose the remedy that matches your Smyrna wall
For drywall patching in Smyrna, the most useful approach is to identify the visible defect before choosing the remedy. Raised edges require surface correction; mismatched texture requires blending; absorption differences may call for primer. Once those issues are addressed, the paint scope can be chosen with the wall's condition and lighting in mind.
When discussing your repair with Alpharetta Painters and Stainers (Paint and Stain), ask for a clear distinction between patch preparation and finish painting. That conversation helps you compare the proposed work against the result you want: a repaired wall that looks consistent in everyday use, without assuming another coat alone will solve every visible patch in your Smyrna home.
Frequently asked questions
Will another coat of paint hide a visible drywall patch?
It may help if the problem is incomplete coverage, but it will not flatten a raised edge or recreate missing texture. Identify whether the difference is surface shape, texture, sheen or color before adding paint.
Does a drywall patch need primer before painting?
Bare joint compound generally benefits from a compatible primer because it absorbs paint differently from the surrounding painted wall. Follow the primer and finish-paint instructions. Primer supports a more even finish but does not replace smoothing or texture matching.
Should the entire wall be repainted after a small patch?
Not always. A small touch-up may blend acceptably when the existing paint and application conditions can be matched. Repainting from corner to corner may be more practical when the wall has aged, the sheen differs or the repair sits in prominent side lighting.