
Trim Work in Alpharetta: Coordinating Baseboard Painting With New Flooring
A practical sequence for coordinating baseboard preparation and painting with flooring replacement, from documenting old floor lines to agreeing on final finish responsibilities.
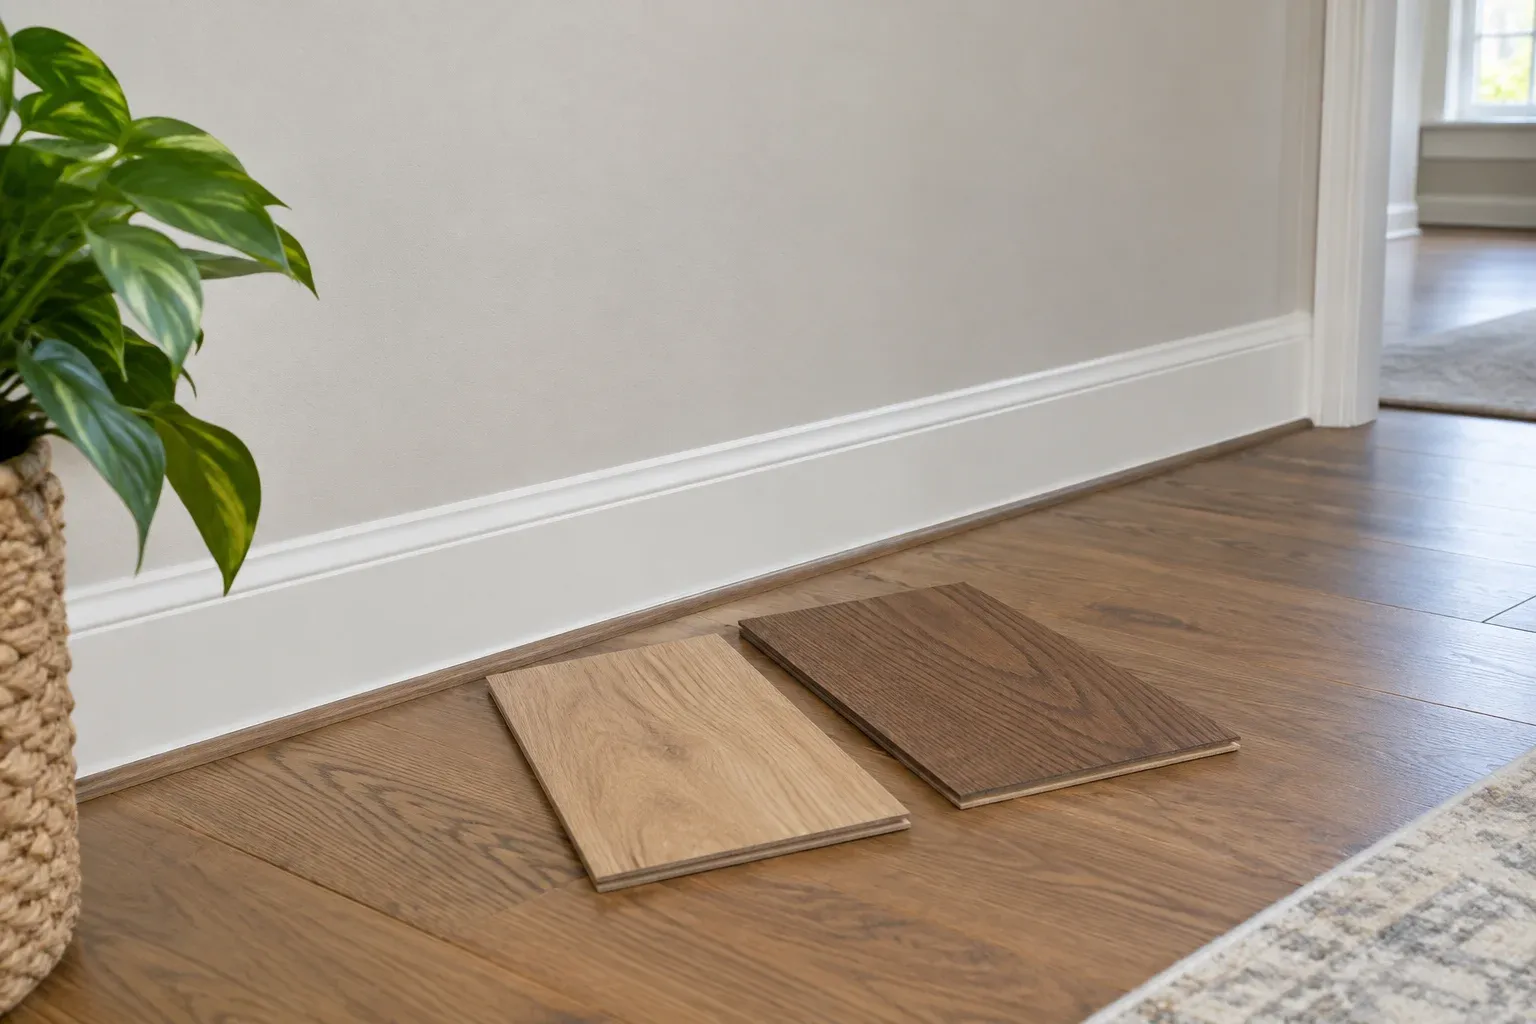
Plan the paint sequence around the finished floor
Trim work in Alpharetta needs careful sequencing when new flooring changes what is visible along the bottom of a wall. A baseboard that looked finished above carpet may reveal an unpainted strip above a thinner replacement floor. Even when floor height stays similar, removing shoe molding or moving materials through rooms can expose edges and leave installation marks. The useful question is not simply whether painting comes first, but which painting tasks belong before and after the flooring.
A practical Trim work plan separates accessible preparation from final appearance work. Cleaning and preparing existing surfaces may be easier before the new floor needs protection; final filling and painting may depend on reinstalled molding. For a long-term homeowner, that distinction matters more than finishing every painting task in one visit. Set the sequence around the final trim arrangement, rather than treating the flooring date as the only milestone.
Document existing paint and floor lines before removal
Before removal begins, photograph each wall at normal viewing distance, then record corners, door casings and transitions between rooms. Note whether the baseboard remains attached, whether shoe molding will be removed, and where flooring currently hides the painted face. Record existing scuffs, open joints and paint ridges so they are not confused with later installation damage. Include a ruler in selected reference photographs if useful, but measure from a stable reference rather than relying on carpet pile height. These records establish the starting condition; they do not reveal everything behind the trim.
Keep the existing paint information if available, including product, color and sheen, but do not assume an old can guarantees an invisible touch-up. Approve a representative painted area under the room's lighting when appearance is important, much as a sample-door review establishes a finish reference. Also identify a pause point for unexpected conditions after removal. As with planning for hidden siding damage, separate what is visible now from what can only be evaluated once adjoining material is removed. Avoid committing to final paint dates before that checkpoint, especially when several rooms connect.
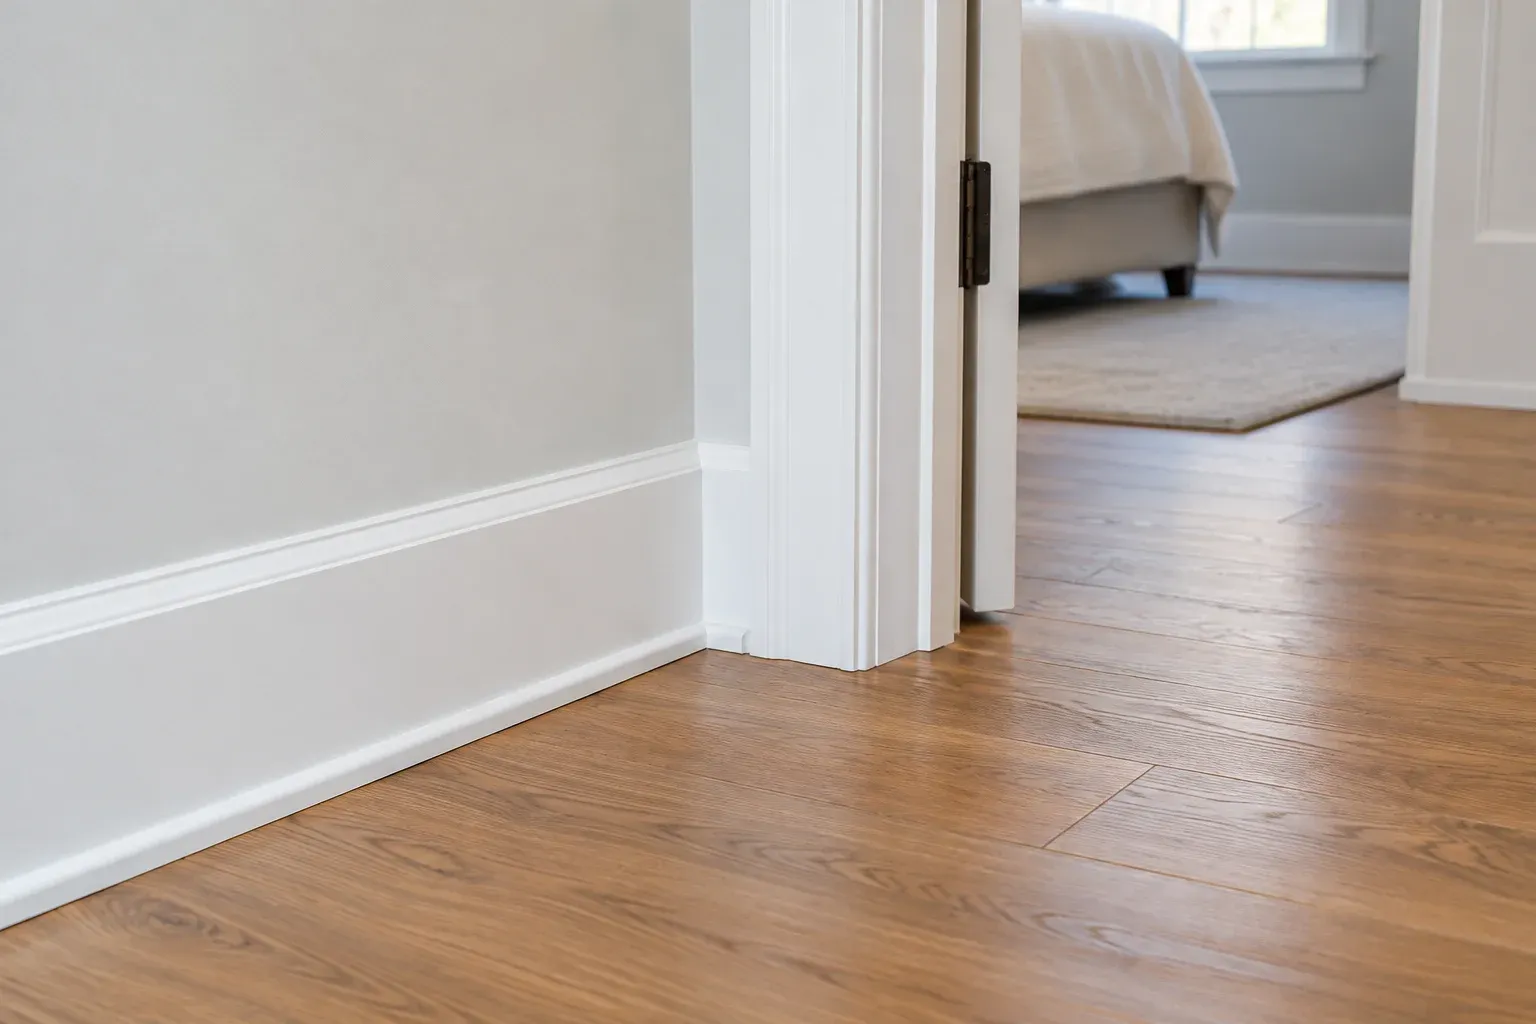
Resolve height changes and shoe molding coverage
Ask for the proposed finished floor height, including the flooring assembly rather than the visible plank or tile alone. A lower surface can expose an old paint boundary, bare wood or a rough strip previously concealed by flooring. A higher surface may hide more baseboard and change the visible proportions beside door casings. Neither outcome can be judged reliably from a loose flooring sample sitting on the existing floor. Where height is uncertain, leave the paint scope provisional until the relevant layers are removed and the planned assembly is confirmed. The goal is a dependable coverage decision, not an estimate based on appearances.
Shoe molding adds another coverage decision. Confirm its profile, whether it will be reused and how much baseboard face it will conceal at the new elevation. If it is omitted, the previously covered area needs a deliberate finish plan. If it returns, preparation may still be needed above its new top edge. Do not use extra paint or caulk to disguise a flooring clearance that must remain functional. Flooring movement requirements belong to the flooring system; the trim and paint sequence should accommodate them. Confirm the intended treatment at doorways too, where shoe molding usually ends and small unfinished patches are especially noticeable.
Separate preliminary preparation from final painting
Once the arrangement is clear, schedule preliminary preparation where access is best. Depending on surface condition, that can include cleaning, addressing loose coatings, smoothing repair areas and priming exposed material. Existing coatings and the age of the home should inform safe preparation methods before any disturbance. Preparation should reach every area expected to remain visible, not merely the band exposed above today's floor. For the separate question of protecting a molding's profile during repainting, see the guide to preserving detail on previously painted molding. Here, the priority is ensuring that newly exposed surfaces receive appropriate preparation before finish coats.
Painting accessible trim before flooring installation can reduce cutting-in work beside the new surface, but it does not eliminate the need for a finishing visit. Removed molding can acquire nail holes, joints need attention after fitting, and handling may mark previously painted faces. Let coatings dry and cure as directed before covering or handling them; dry to the touch is not the same as ready for masking. After flooring and molding placement, complete the agreed filling, suitable joint treatment and finish painting. Use floor protection compatible with the floor finish, and avoid assuming tape is safe on either newly painted trim or newly finished flooring.
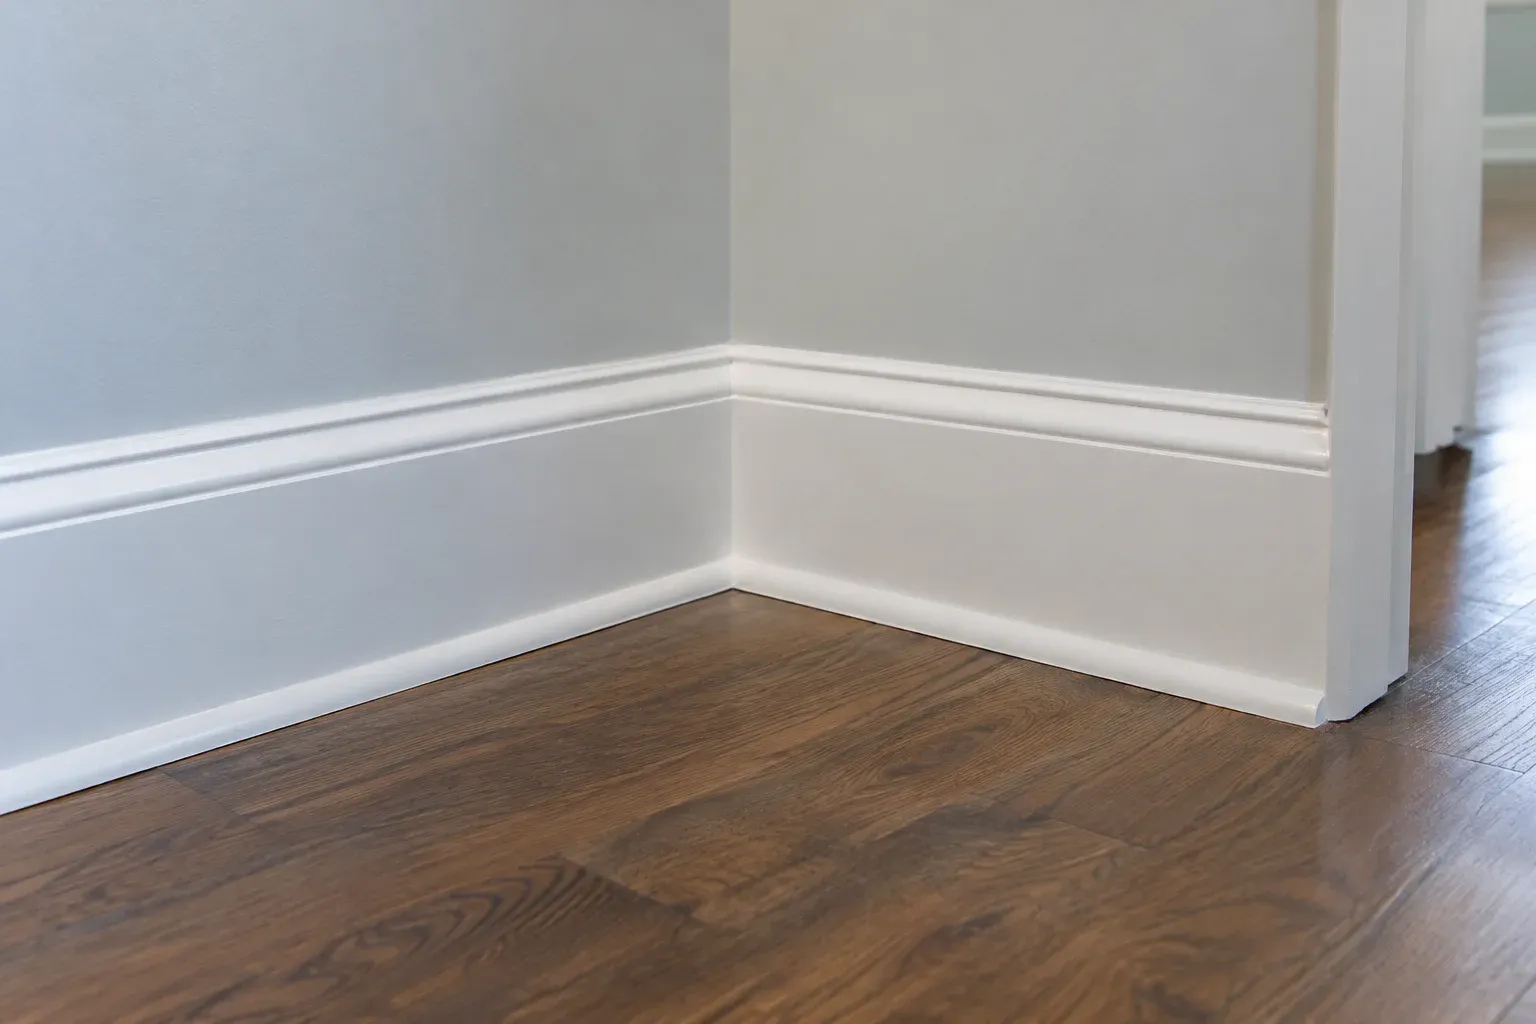
Make each trade handoff explicit
Define responsibilities by task rather than by a broad instruction to leave everything finished. Identify who removes and stores reusable shoe molding, who reinstalls it, who handles nail holes and who paints the final exposed surfaces. Specify whether baseboards remain attached throughout. If removal becomes necessary, establish who authorizes it and who addresses the resulting wall-to-trim paint boundary. These are scope questions for the people doing the work, not responsibilities homeowners should assume are automatically included. Keep the decisions in one shared record so a change made during flooring installation reaches the person responsible for painting before the next visit is confirmed.
Use three handoff checkpoints: after removal, after flooring and molding installation, and after final painting. At the first, confirm exposed surfaces and any scope changes. At the second, mark installation damage and verify that molding placement is complete. At the third, review paint continuity and protection removal. Matching deserves explicit agreement: the visual question resembles matching replacement siding, where a new section must be judged against an existing finish rather than a label alone. For baseboards, decide whether isolated touch-ups are acceptable or whether a continuous section needs repainting for a more consistent appearance.
- Record who owns removal, reinstallation, filling and final painting.
- Require approval before unexpected conditions change the scope.
- Schedule the final paint review after molding installation is complete.
Check the finished edge before closing the project
Inspect from standing height in daylight and under the lighting normally used in the room. Look along the baseboard for exposed old floor lines, rough lower edges, visible filler and changes in sheen. Check doorway ends and inside corners separately; these small areas can be missed when attention stays on long runs. Review any remaining marks before furniture returns, while access is open and their locations are easy to document.
Successful trim work in Alpharetta coordinates preparation with what the new floor actually exposes. Document the starting condition, confirm height and molding coverage, then reserve final finish work for the point when installation marks and joints can be addressed together. The result depends less on choosing painting first or flooring first than on agreeing which tasks happen at each stage—and what must be complete before the next person begins.
Frequently asked questions
Should baseboards be painted before or after new flooring?
Often both stages are useful. Accessible cleaning, preparation, priming and some painting can happen beforehand. Final filling, joint treatment and finish painting may need to follow flooring and molding installation. The sequence depends on which trim stays in place and which surfaces the new floor will expose.
Will shoe molding hide an old floor line?
It may cover part of the previously hidden area, but coverage depends on the finished floor height, molding profile and installation position. Confirm those details before deciding which exposed surfaces need preparation and paint.
Who should handle paint damage after the flooring is installed?
Assign that responsibility in the written scope before work begins. Identify who documents installation marks, who completes paint repairs and whether the planned final painting visit includes those areas. Do not assume either trade has included the other's finishing tasks.